
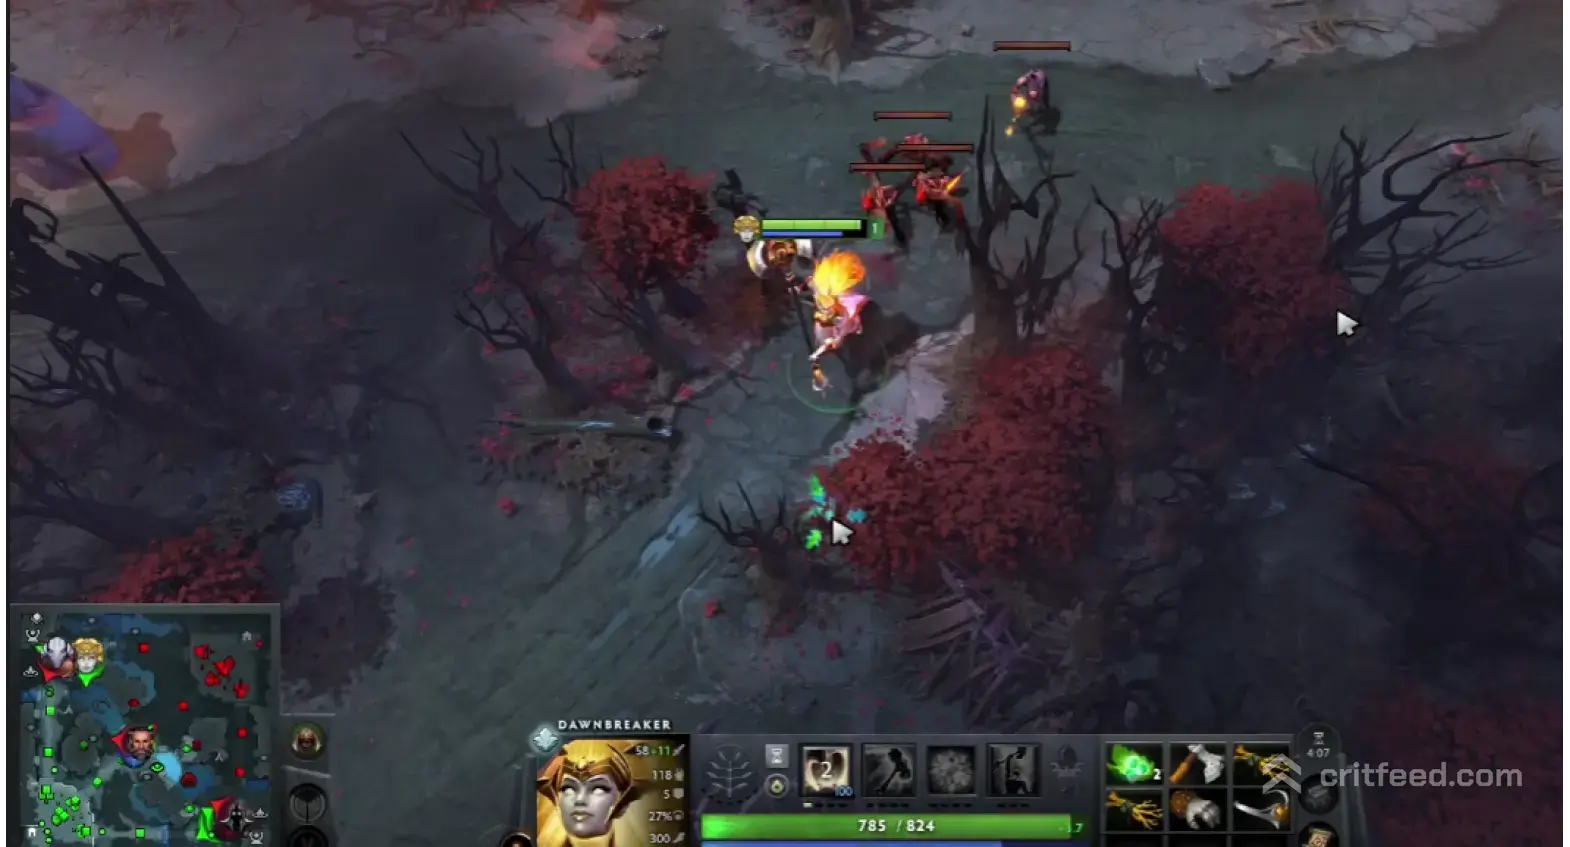
If you play position 4 or 5 and you are not pulling, you are leaving free gold, XP, and lane control on the table. Learning how to pull creeps in Dota 2 is the single fastest way to make your safe lane winnable and your offlane opponents miserable. This guide covers the timings, the camps, the pull-through, and the mistakes that cost you the lane.
What Pulling Actually Does
Pulling means aggroing a neutral camp so its creeps fight your own lane creeps. The lane wave dies to the neutrals, which resets the equilibrium closer to your tower and denies XP and last hits to the enemy offlaner.
A clean pull achieves three things at once:
- Resets lane equilibrium so your carry farms under tower safety
- Denies XP to the enemy offlane, slowing their level 6 spike
- Gives you neutral gold and XP without leaving lane range
If you only care about killing the camp, you are jungling. Pulling is a lane management tool first, a farm tool second.
Creep Aggro Timing: The 30-Second Rule
Lane creeps spawn from the barracks and meet in the middle at fixed intervals. The neutral camps you pull into spawn on a repeating timer tied to the game clock.
Neutral camps spawn at every minute mark on the game clock (0:00, 1:00, 2:00, and so on) as long as the camp is empty. If the camp is occupied when the timer ticks, nothing spawns and the camp is “blocked.” This is why stacking works, and why blocking a camp with a ward at the wrong second wipes your pull.
For pulls to hit the wave cleanly, you want to aggro the camp so the creeps arrive at your lane wave roughly when both waves meet. The standard windows are:
| Pull Type | Aggro the Camp At | Why |
|---|---|---|
| Small camp hard pull | :15 or :45 | Creeps reach the lane by the next wave arrival |
| Pull-through (big to small) | :14 or :44 | Extra travel time through second camp |
| Double pull (stack + pull) | :15 with a stack ready | Both camps chain into the wave |
These windows shift a second or two by lane and by hero movement speed. The habit to build is glancing at the clock, not guessing.
The Radiant and Dire Pull Camps
Both sides of the map have a small camp positioned near the safe lane, roughly a screen away from the tier one tower. The pull path differs by side, but the principle is identical: walk into the camp’s aggro range, get one creep to target you, then kite it back toward your lane.
- Radiant safe lane pull: Small camp sits north of the lane, between the lane and the ancients. Pull the wave north into the camp.
- Dire safe lane pull: Small camp sits south of the lane. Pull the wave south into the camp.
If you are new to reading the terrain, our dota 2 map guide breaks down every camp location on both sides.
Step-by-Step: How to Pull a Small Camp
Here is the exact sequence for a standard hard pull:
- At around :40 on the clock, walk to the pull camp entrance.
- Right-click a neutral creep (usually the ranged one, or the fastest attacker) to grab aggro.
- Immediately move back toward the lane so the neutrals follow you.
- Time your body between the camp and the lane wave so the neutrals reach the wave as your creeps arrive.
- Last-hit the neutrals once they engage your lane creeps.
If your lane wave is very close to your tower, aggro the camp earlier (around :43-:45). If the wave is pushed out, aggro later (:47-:48) or skip the pull entirely. Pulling into a wave that is too far away just feeds the neutrals into nothing.
The Pull-Through (Chain Pulling)
The pull-through, sometimes called the chain pull, is the highest-value technique in the safe lane toolkit. You aggro the small camp, then walk the neutrals through the large camp behind it, aggroing that camp too. Both camps chase you into the wave.
Why it matters: two camps of neutrals slam the wave at once, which almost always kills the entire creep wave, resets equilibrium hard, and denies a full wave of XP to the enemy offlane.
Setup requirements:
- Both the small camp and the large camp behind it must be unblocked and populated
- You need enough damage or tank to survive walking through the large camp’s aggro range
- The wave must be far enough from your tower that a full reset is safe
If you can pull off two clean pull-throughs in the first three minutes of laning, your carry is basically playing a different game from the enemy offlaner.
Stacking Into a Pull
Stacking a camp at :53-:55 and then pulling that stack at the next minute mark doubles the neutral force hitting your wave. This is the “cool new technique” a lot of returning players ask about, and it is standard in high-MMR safe lane play.
The rhythm:
- :53 – Aggro the camp to stack it (creeps chase you, then reset back to spawn point empty, and a new camp spawns at :00)
- :15 of the next minute – Pull the double-stacked camp into the wave
A double-stacked pull can wipe two lane waves back-to-back if the neutrals survive the first one. That is huge tempo for your position 1.
Blocking the Enemy Pull Camp
Pulling is not just about your own camp. As a support, you also want to block the enemy’s pull camp so their support cannot reset the lane when you are pushing.
Place a sentry or observer ward inside the neutral spawn box before the minute mark ticks. If the box is occupied, no neutrals spawn that minute, and the enemy loses their pull window entirely. Our dota 2 warding spots guide covers the exact tiles that block each camp.
When NOT to Pull
Pulling is powerful but it is not free. Skip the pull when:
- Your carry is winning the lane hard. Do not reset a lane you are already dominating unless the wave is about to crash into the enemy tower.
- The wave is deep in the enemy side. Neutrals will die to your own lane creeps before reaching the equilibrium point.
- The enemy has a stun or long-range spell up. A ranged offlaner or roaming mid can punish you for standing in the pull camp.
- You need to be on the lane for a kill setup. Missing a fight because you were pulling is the classic position 5 mistake.
Reading the lane state matters more than hitting every timer. If you are still learning that read, our dota 2 laning guide walks through wave states in detail.
Which Heroes Pull Best
Any support can pull, but some do it much cleaner than others because they either survive the neutrals easily or have tools to sustain through the damage. Strong pulling supports typically have:
- A ranged attack for safer aggro pulls
- Innate sustain (regen, lifesteal, or a heal)
- Enough damage to secure the last hits on neutrals
If you want hero specifics, check our list of the dota 2 best support heroes for the current meta picks.
Common Pulling Mistakes
Pulling with the wave right next to your tower. The neutrals arrive, but your tower and creeps kill everything instantly and you get nothing done.
Aggroing too late. If you touch the camp at :20 or later, the neutrals arrive after the waves have already fought. You get free camp gold but no lane reset.
Ignoring the second camp. A pull-through opportunity wasted is a full lane wave of XP handed to the offlaner.
Pulling while your carry is being ganked. Cameras exist. Look at your lane before you commit.
Practice This in a Bot Game
Load a bot match, mute the bots, and rehearse the timings for five minutes:
- Aggro the small camp at :15 and :45 and watch how the wave moves.
- Try one pull-through per minute.
- Try a stack-and-pull cycle: stack at :53, pull at :15.
Once the muscle memory clicks, it transfers directly to real matches. Pair this with a solid support foundation from our dota 2 support guide and you will feel the MMR gain within a week.
The Bottom Line
Pulling is the highest-leverage macro action a support can take in the first ten minutes of a Dota 2 game. Learn the :15 and :45 aggro windows, master the pull-through, block the enemy camp, and know when to skip the pull entirely. Do that, and your safe lane becomes a farming paradise while the enemy offlaner starves.
Ready to climb? Pair this with our dota 2 mmr guide and start converting lane wins into ranks.