
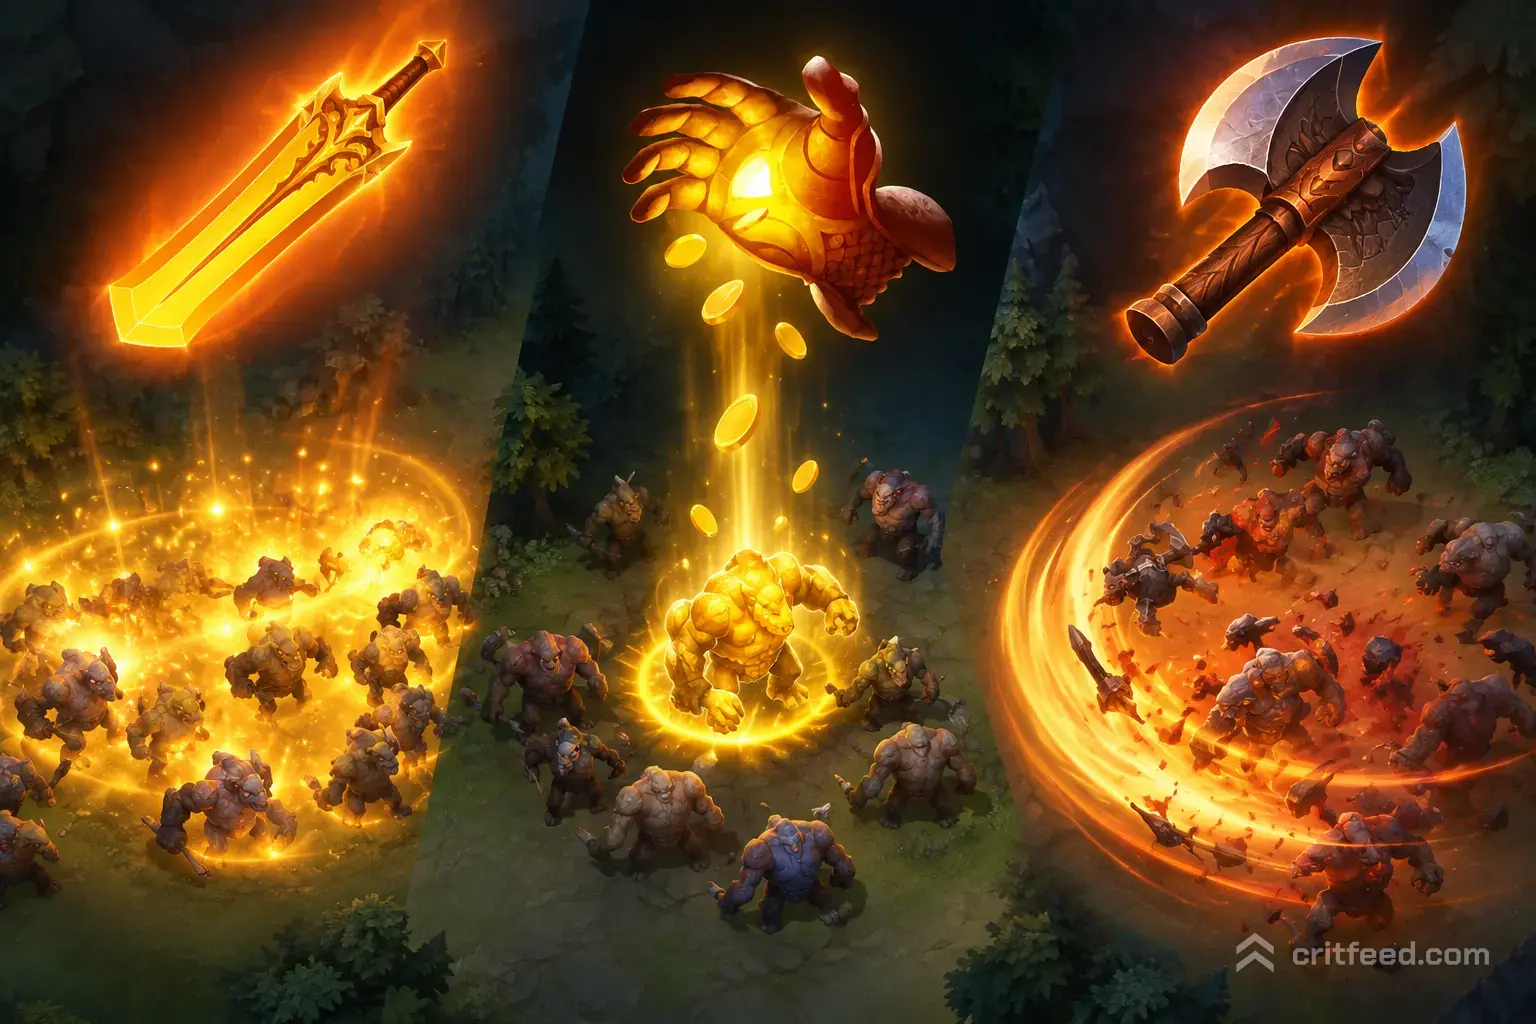
Best Farming Items in Dota 2 to Boost Your GPM Fast
Farming efficiently separates good carries from great ones, and the right items make all the difference. Dedicated farming items increase your gold per minute (GPM) by letting you clear waves and camps faster, pushing your net worth ahead of opponents and reaching critical power spikes before fights break out.
This guide covers every major farming item in Dota 2, explaining what each one does, which heroes benefit most, and when to prioritize farm acceleration over fighting stats.
What Makes an Item a Farming Item?
A farming item accelerates gold acquisition by improving your ability to kill creeps quickly. These items typically provide one or more of the following:
- Cleave damage that hits multiple units simultaneously
- Area-of-effect (AoE) damage to clear camps and waves
- Attack speed to increase your damage output
- Mana regeneration to sustain ability spam for farming
- Mobility to move between camps faster
The core concept is simple: invest gold now to earn more gold later. A 4,000-gold Battle Fury feels expensive at 15 minutes, but if it increases your GPM by 150, you recoup the investment in around 12 minutes while also scaling into the late game.
Core Farming Items by Type
Cleave Items
Battle Fury is the gold standard farming item for melee carries. Its 70% cleave in a 650 radius lets you clear entire creep waves in 3-4 hits and take ancient stacks efficiently.
Heroes like Anti-Mage, Juggernaut, Faceless Void, and Phantom Assassin rush Battle Fury because they need fast farm to reach their timing windows. The item also provides health regeneration and mana regeneration, letting you stay on the map longer without returning to base.
Buy Battle Fury before 20 minutes if your hero depends on it. A 25-minute Battle Fury on Anti-Mage means you are already behind.
Maelstrom offers a different farming approach through chain lightning procs. Each attack has a 30% chance to release a lightning bolt that bounces between targets, dealing magical damage. Maelstrom costs less than Battle Fury and builds into Gleipnir or Glepnir, making it flexible for heroes who want both farm and fight potential.
Ranged carries like Gyrocopter, Medusa, and Drow Ranger prefer Maelstrom because cleave does not work on ranged attacks. The lightning procs clear waves almost as fast as cleave while dealing respectable damage in teamfights.
Radiance and Damage Auras
Radiance defines a specific farming playstyle built around burn damage. The item emits 60 magical damage per second to all nearby enemies, clearing waves passively while you move between camps. Radiance also applies a 17% miss chance to enemies, making it defensive as well.
The catch is Radiance’s 5,000-gold cost. You need to buy it early, typically before 20 minutes, or it loses impact. Late Radiance means you spent the critical midgame as a walking item slot instead of fighting or farming efficiently.
Illusion heroes like Spectre, Naga Siren, and Phantom Lancer love Radiance because the burn aura applies to each illusion. A six-illusion Naga Siren with Radiance becomes a farming machine, clearing multiple lanes and jungle camps simultaneously.
Alchemist rushes Radiance faster than anyone thanks to Greevil’s Greed, often finishing it by 12-14 minutes. Lone Druid builds it on his Spirit Bear for the same reason: the bear farms independently while the hero pushes or fights elsewhere.
Hand of Midas
Hand of Midas is the pure greed option. It costs 2,200 gold and provides only 45 attack speed, but its active ability instantly kills a creep for bonus gold and experience. The cooldown is 90 seconds.
Midas works when you can afford to be passive for 15-20 minutes. Position 1 carries in safe games, experience-hungry cores like Invoker or Arc Warden, and heroes with strong late-game scaling like Luna or Sniper buy Midas to accelerate their leveling.
The math is straightforward: Midas pays for itself in about 17 uses if you target large jungle creeps, which takes roughly 25 minutes. After that point, every use is profit. The experience gain is often more valuable than the gold, especially for heroes with game-changing ultimate upgrades.
Do not buy Midas if your team needs you to fight within the next 10 minutes. A 2,200-gold investment that provides no combat stats loses games when the enemy is five-manning your towers at 18 minutes.
Farming Through Mobility
Boots of Travel let you teleport to any allied unit or building on a 50-second cooldown. The farming advantage comes from cutting travel time: you can show in lane, clear the wave, teleport to a jungle camp, clear it, then teleport back to lane before the next wave arrives.
Travels cost 2,500 gold and are most efficient when you are already farming well. Buying Travels at 30 minutes when you have 600 GPM accelerates you further. Buying them at 20 minutes when you have 400 GPM stalls your real item progression.
Tinker and Nature’s Prophet build Travels first because their kits revolve around global presence. For most other cores, Travels are a third or fourth item, purchased after your primary farming accelerator and one fighting item.
Stat Items That Enable Farming
Yasha is not a dedicated farming item, but its 16% movement speed and 16 agility accelerate your clear speed noticeably. Faster movement between camps increases GPM, and the agility improves attack speed.
Yasha builds into Manta Style, which adds illusions for split-pushing and clearing camps, or Sange and Yasha, which provides tankiness and lets you farm dangerous areas. Either upgrade turns Yasha into a hybrid farming and fighting tool.
Dragon Lance provides cheap stats (14 strength, 14 agility, 140 attack range) that help ranged carries farm safely. The attack range keeps you outside retaliation range from neutrals, speeding up clears slightly while making you harder to gank. It builds into Hurricane Pike for mobility and Black King Bar-piercing repositioning.
When to Buy Farming Items
The decision to buy a farming item depends on three factors: your hero’s timing, the game state, and your position priority.
Hero-Dependent Timings
Some heroes must buy a farming item first or they fall too far behind. Anti-Mage without Battle Fury by 18 minutes is a liability. Alchemist without Radiance by 15 minutes wastes his Greevil’s Greed advantage. These heroes are built around fast farming; delaying their core farming item to buy fighting stats just makes them weak at both.
Other heroes can choose. Luna farms quickly with her Lunar Blessing and Moon Glaives, so she can skip Midas entirely and go straight into fighting items like Dragon Lance and Black King Bar. Medusa can build Maelstrom for faster farm or skip it for Manta Style if the enemy lineup requires split-push pressure.
Reading the Game State
If your team is winning lanes and taking map control, you can greed harder. A 12-minute Midas or 17-minute Radiance is safe when your team creates space. If you are losing all three lanes and enemy heroes are farming your jungle at 10 minutes, buying a farming item delays your ability to contest the map.
Fighting items like Black King Bar, Assault Cuirass, or even early Butterfly let you join fights sooner, defend towers, and reclaim map control. You farm faster when you control more of the map than when you hide in the triangle with an incomplete Radiance.
Position 1 vs. Position 2
Position 1 carries have the highest farm priority and should almost always build a farming item first. Your team is creating space specifically for you to accelerate, and wasting that space on slow farming loses games.
Position 2 mids have more flexibility. Storm Spirit and Ember Spirit can rush farming items if the game is slow, but they often need Black King Bar or defensive items first because they are expected to fight earlier. The dota 2 farming guide explores position-specific farming patterns in depth.
Farming Item Builds by Hero Archetype
Melee Carries
Anti-Mage, Juggernaut, Faceless Void, Phantom Assassin, and Sven all build Battle Fury first. The item is non-negotiable for Anti-Mage and strongly preferred for the others unless you are facing extreme pressure.
After Battle Fury, your second item depends on the game. Manta Style if you need dispel and split-push. Black King Bar if you face heavy disables. Basher or Skull Basher if you need lockdown. The farming item gets you online; the fighting items win you the game.
Ranged Carries
Gyrocopter, Medusa, Drow Ranger, and Sniper prefer Maelstrom for its lower cost and immediate fighting potential. Maelstrom into Dragon Lance into Black King Bar is a common progression that lets you farm efficiently while staying relevant in skirmishes.
Luna skips dedicated farming items entirely thanks to Moon Glaives. She builds Dragon Lance into Manta Style into Black King Bar, using her natural AoE to clear camps at the same speed Maelstrom would provide.
Illusion Heroes
Naga Siren, Phantom Lancer, and Terrorblade revolve around Radiance or fast stat items. Naga Siren rushes Radiance to become a split-push nightmare. Phantom Lancer often skips Radiance for Diffusal Blade into Manta Style, prioritizing earlier aggression. Terrorblade goes Manta Style first because his illusions deal full damage and do not need Radiance burn.
The common thread is these heroes scale exponentially with items. Their farming speed at 30 minutes dwarfs any other archetype, so getting the first item quickly matters more than which item you choose.
Utility Cores
Alchemist and Lone Druid build Radiance to farm multiple areas simultaneously. Nature’s Prophet builds Maelstrom or goes straight for fighting items depending on whether he wants to split-push or teamfight. Tinker rushes Boots of Travel into Blink Dagger, using his rearm ability to flash-farm while threatening constant ganks.
These heroes farm differently than traditional carries. They do not sit in one lane clearing waves; they move around the map taking resources everywhere, forcing enemies to respond or lose towers.
Stacking and Farming Patterns
Farming items are twice as effective when combined with proper neutral camp stacking. A stacked ancient camp at the 16-minute mark is worth 400-500 gold; clearing it with Battle Fury or Radiance takes 10 seconds.
Stack camps at :53 seconds by pulling the neutral creeps out of their spawn box. Do this every minute if you are supporting a Battle Fury or Radiance core. Position 5 supports should stack for the carry; Position 4 supports should stack for themselves or the midlaner.
Efficient farming patterns rotate between lane waves and jungle camps. Clear the lane wave, move to the nearest camp, clear it, check for the next lane wave. Never stand still waiting for creeps to spawn. The fastest farming heroes maximize GPM by minimizing downtime between camps.
Fighting vs. Farming: When to Join Your Team
The biggest mistake carries make is over-farming. A completed Radiance at 25 minutes is worthless if your team lost all three barracks while you were jungling.
Watch the minimap. If your team is defending high ground or contesting Roshan, you must join. One lost fight loses the game regardless of your net worth. If your team is making aggressive plays that do not need you, stay on the map and farm.
Use your ultimate cooldown as a guide. If you are Faceless Void and Chronosphere is off cooldown, you should be near your team. If it is on cooldown, farm aggressively. If you are Spectre with Haunt available, show in lane to threaten the enemy, then Haunt into fights when they break out.
Carries who ignore the game state to finish one more item lose games. Carries who rotate too early and miss 200 gold per minute also lose games. Balance is learned through experience, but the rule of thumb is: defend high ground always, join Roshan fights always, join tower pushes if your team is outnumbered.
Farming Items vs. Fighting Items
Not every game allows greedy builds. Against lineups with strong early game aggression like Beastmaster, Razor, or Huskar, you might need Black King Bar before Battle Fury or skip the farming item entirely for fast fighting stats.
If the enemy is pushing towers at 12 minutes and your team cannot defend, a 15-minute Battle Fury does nothing. You needed Dragon Lance and Manta Style to contest those fights. Recognizing when to abandon the farming plan separates good carries from players who lose with high GPM.
Fighting items like Black King Bar, Assault Cuirass, Monkey King Bar, and Butterfly all provide combat power immediately. They do not accelerate your farm, but they let you take fights, secure objectives, and control the map. Controlling the map creates safe farm anyway, so sometimes fighting items are farming items in disguise.
The dota 2 item guide covers the full item progression for every role and explains situational builds in detail.
Support Farming Items
Supports rarely buy dedicated farming items, but when they do, the items are small and focused on enabling independence.
Tranquil Boots let Position 5 supports move around the map warding and stacking without needing to ferry themselves Tangoes. The armor and heal make you harder to kill, which indirectly increases your GPM by reducing death downtime.
Hand of Midas sometimes appears on Position 4 supports who need experience badly, like Mirana or Clockwerk. These heroes do not need the gold as much as the levels, and Midas provides 2.5x experience on the targeted creep.
Maelstrom is a Position 4 item on heroes like Mirana, Bounty Hunter, or Vengeful Spirit when you are snowballing. It should never come before your support items like Glimmer Cape or Force Staff, but if you are 3-0 at 15 minutes and have gold lying around, Maelstrom lets you clear camps while moving between lanes.
The dota 2 farming support guide explains how to maximize GPM as a support without stealing your cores’ farm.
Neutral Items That Boost Farming Speed
Neutral items drop from neutral creeps and cannot be purchased, but several accelerate farming significantly.
Tier 1: Poor Man’s Shield and Broom Handle provide minor farming boosts, but nothing game-changing.
Tier 2: Grove Bow (ranged only) adds attack speed and improves clear speed. Unstable Wand provides mana regeneration for spell-based farmers.
Tier 3: Titan Sliver provides status resistance and 50 attack speed, helping you clear faster and resist slows when rotating.
Tier 4: Ninja Gear (melee only) adds 40 attack speed and evasion, speeding up farm while making you harder to gank.
Tier 5: Stormcrafter provides passive chain lightning similar to Maelstrom, essentially doubling your AoE farming potential if you already have Maelstrom built.
The dota 2 neutral items guide breaks down every neutral item by tier and explains which heroes benefit most from each.
Common Farming Item Mistakes
Buying Radiance too late is the most common error. Radiance at 24 minutes does not provide enough value. Either commit to fast Radiance by 18-20 minutes or skip it entirely.
Ignoring farming items when appropriate is the opposite mistake. Some carries try to fight too early without the items to make an impact. If you picked Anti-Mage, you are a farming carry. You cannot skip Battle Fury and expect to be relevant at 20 minutes.
Stacking farming items delays your fighting potential excessively. Battle Fury into Radiance into Maelstrom sounds good on paper but means you have 11,000 gold invested in farm acceleration with no HP, no Black King Bar, and no ability to survive a real fight. One farming item is almost always enough.
Building farming items on the wrong heroes wastes gold. Battle Fury on Slardar is a meme build. Radiance on Juggernaut delays his Manta Style and Black King Bar timing too much. Understand your hero’s strengths before committing to a farming item.
How to Maximize GPM With Farming Items
Once you have your farming item, your GPM should jump by 100-200 depending on the item and your efficiency. Hitting 700+ GPM requires combining the item with smart farming patterns.
Clear every lane wave that pushes past the river. Waves are worth more than jungle camps and they push toward your base naturally, so catching them costs no extra time. Ignore waves and you lose 150-200 gold per minute.
Take jungle camps while moving between lanes. Never walk past a camp without clearing it unless you are responding to a fight. The extra 5 seconds to clear the camp add 30-40 gold, which compounds to 400-500 GPM over a full game.
Farm aggressively when you have vision and defensively when you do not. Farming enemy jungle after winning a fight is high-risk, high-reward; do it when your team has map control. Farming your own triangle when you lost the last fight is safer but yields less gold per minute.
Use your farming item to accelerate your second and third items, not to sit at 15,000 net worth while your team loses. Items exist to win games, not to break personal GPM records.
The Bottom Line
Farming items are investments that pay off when used correctly. Battle Fury, Maelstrom, and Radiance are the big three, each suited to different hero archetypes and game states. Midas provides experience and long-term gold but requires a safe game. Boots of Travel maximize efficiency for heroes who are already farming well.
Buy farming items early on heroes who depend on them, skip them on heroes who do not, and fight before you finish farming when your team needs you. The best item build in the world loses to better decision-making, so learn when to farm and when to group.
Master farming efficiency and you will climb MMR faster than any other single skill improvement.