
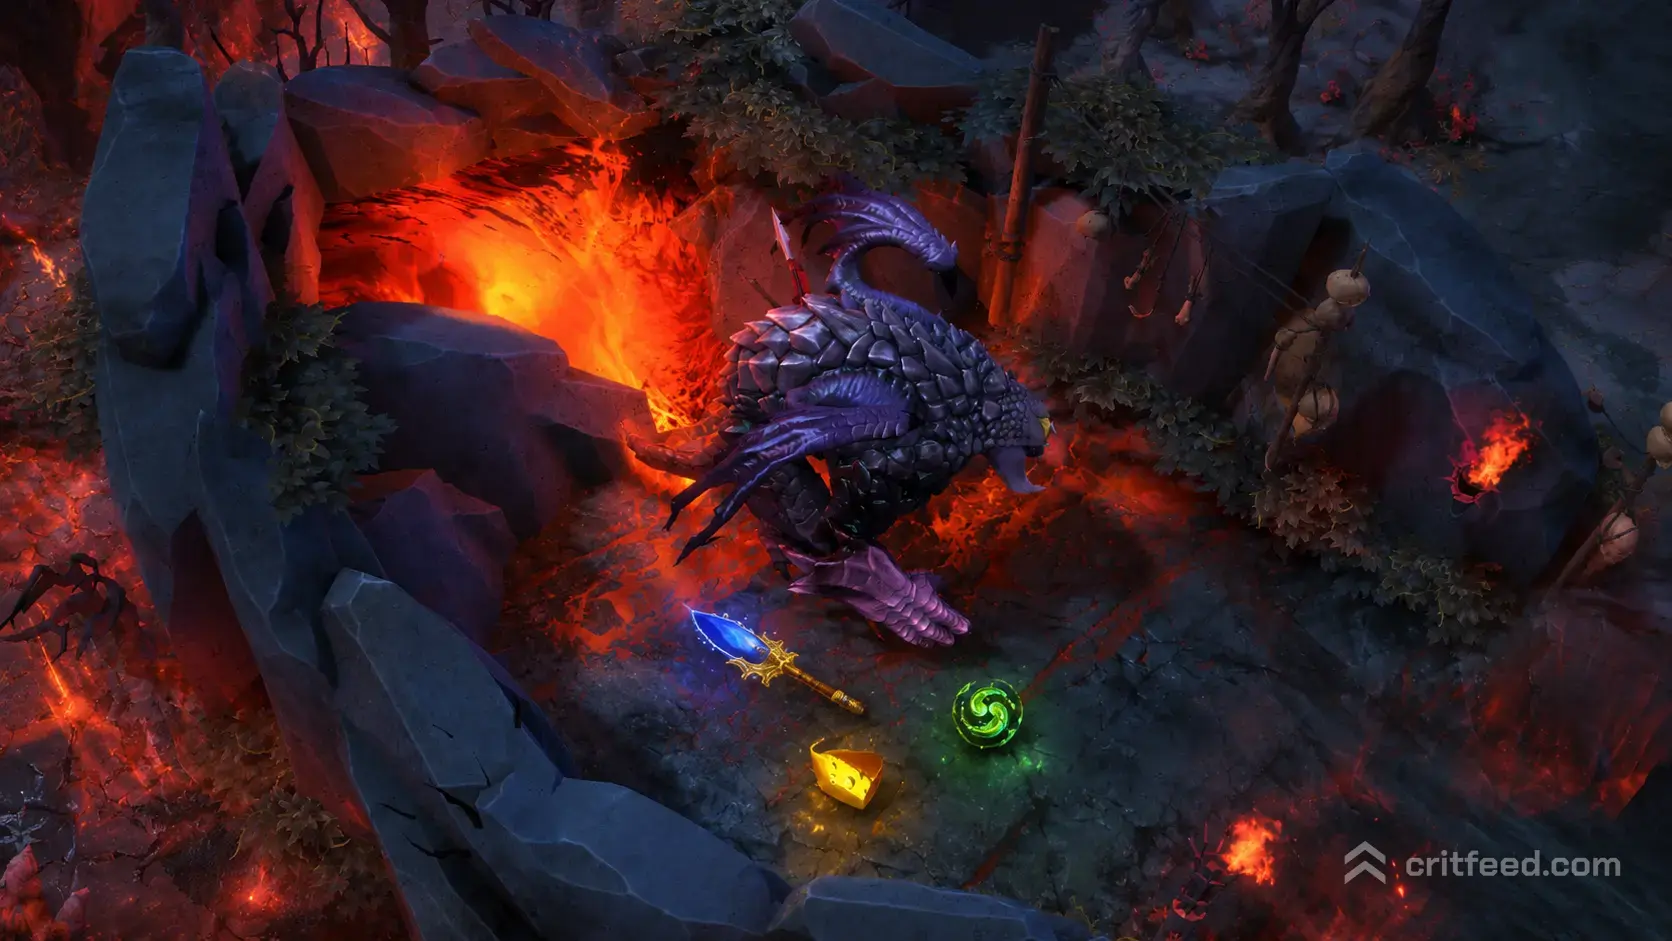
Killing Roshan is the single biggest team objective on the map, and knowing exactly what drops on each kill is the difference between a clean pit and a wasted 40 seconds. In this guide we break down every reward from Roshan kills, from the Aegis of the Immortal on the first attempt to the Aghanim’s Blessing on the fourth. If you’re brushing up on pit fundamentals, our full dota 2 roshan guide pairs perfectly with the reward breakdown below.
Roshan Kill Rewards at a Glance
Roshan drops different items depending on how many times he has already died in the match. The pattern is fixed, so you can plan your Rosh windows around exactly which reward is up next.
| Kill Number | Guaranteed Drops |
|---|---|
| 1st Kill | Aegis of the Immortal |
| 2nd Kill | Aegis of the Immortal + Cheese |
| 3rd Kill | Aegis of the Immortal + Cheese + Refresher Shard |
| 4th Kill+ | Aegis of the Immortal + Cheese + Aghanim’s Blessing |
Each drop is a physical item that lands in the pit, so any hero on the killing team can grab any of the rewards. Draft your smoke and pit priority around who benefits most from each pickup.
1st Kill: The Aegis of the Immortal
The Aegis of the Immortal is the reward every team fights over. It is a passive item that sits in your inventory, and it activates the moment its holder takes fatal damage.
Key facts about the Aegis:
- Reincarnates the holder in place with full health and mana after a short delay
- Expires 6 minutes after being picked up if unused
- Cannot be dropped, given away, or stolen once picked up
- Only the hero who grabs it from the pit receives it
The Aegis is almost always handed to the position 1 carry or a high-impact core who benefits most from a second life in a fight. On a first Rosh with a squishy mid laner snowballing, though, feeding it to them can be correct.
2nd Kill: Aegis + Cheese
Once Roshan respawns and dies a second time, he drops the Aegis of the Immortal plus Cheese.
Cheese is a consumable item with a use time of instant. When eaten, it restores 2500 health and 1500 mana to the user. It stays in your inventory until used and can be passed between allies, which is a huge flexibility tool during a base assault or a long fight around an Ancient push.
Two rules worth remembering:
- Cheese does not share a cooldown with healing salves, tangoes, or Bottle
- You can eat Cheese while stunned or silenced because it activates from an inventory-based effect that does not require ability casting
Cheese is often the deciding factor in a 40-minute teamfight. Save it for the fight that ends the game.
3rd Kill: The Refresher Shard Drops
The third Roshan kill is where things get spicy. On top of the Aegis and Cheese, Roshan drops a Refresher Shard.
The Refresher Shard is a consumable that, when used, refreshes the cooldowns of all your items and abilities one time. This is not a permanent inventory item like the full Refresher Orb; it is a one-shot consumable that sits in your bag until you drink it.
Who wants the Refresher Shard most?
- Heroes with game-ending ultimates like Enigma’s Black Hole or Magnus’s Reverse Polarity
- Cores looking to double up on Black King Bar, Guardian Greaves, or Lotus Orb actives
- Any hero with a defining Aghanim’s Scepter upgrade that changes an ultimate’s impact
The Shard turns single-cast heroes into two-cast monsters for one fight. Coordinate the timing with your team’s initiator before the fight breaks out. If you’re still figuring out which items to prioritize alongside these drops, our dota 2 item guide covers the broader item economy.
4th Kill and Beyond: Aghanim’s Blessing
Any Roshan kill from the fourth onward drops Aegis of the Immortal, Cheese, and Aghanim’s Blessing.
Aghanim’s Blessing is a permanent upgrade item that grants the holder the effect of Aghanim’s Scepter without taking up an inventory slot. Once consumed, the effect is locked in for the rest of the match, even through deaths.
A few sharp points on the Blessing:
- It stacks with a real Aghanim’s Scepter you buy from the shop only for stat bonuses that come with the item, but the Scepter upgrade effect itself does not double
- Heroes who already own an Aghanim’s Scepter can still eat the Blessing to free up an inventory slot
- Every additional Roshan kill after the fourth continues to drop a Blessing, so late-game Rosh fights can hand out multiple Scepter upgrades to your team
The Blessing does not drop the Aghanim’s Shard. The Shard is purchased from the shop starting at a set game time and is separate from Roshan’s rewards entirely.
Reward Priority: Who Picks Up What
Because every reward is a physical drop, the killing team needs a plan for who grabs what. A messy pit can leave the Aegis on your position 5 support while your carry walks away empty-handed.
A clean priority list looks like this:
- Aegis goes to the highest-impact core still alive (usually position 1 or a snowballing mid)
- Cheese can be held by any hero with good mobility, since it can be passed later
- Refresher Shard goes to the hero whose ultimate wins the next fight
- Aghanim’s Blessing goes to whoever benefits most from an unowned Scepter upgrade
Callouts before the killing blow save a lot of pain. Ping the items, name the pickup, and move on. Solid dota 2 warding spots around the pit also stop enemies from contesting the drop with a smoke gank.
Bonus Neutral Drop
Killing Roshan also has a chance to drop a neutral item from the tier appropriate to the current game time. This is separate from the guaranteed rewards above and appears as a bonus pickup in the pit.
The tier of the neutral item scales with game time, so a late-game Roshan can drop high-tier neutrals that would otherwise be hard to find from jungle camps. If you want a full look at how these tiers work, check our dota 2 neutral items guide.
The Bottom Line
Roshan rewards escalate hard as the game goes long: Aegis on kill one, Cheese added on kill two, Refresher Shard on kill three, and Aghanim’s Blessing from kill four onward. Every drop is a physical item, so team communication in the pit matters as much as the kill itself.
Master your Rosh timings, plan your pickups, and treat the pit like the objective it is. For deeper strategy on when to smoke up and take the pit safely, dive into our dota 2 warding guide next.