
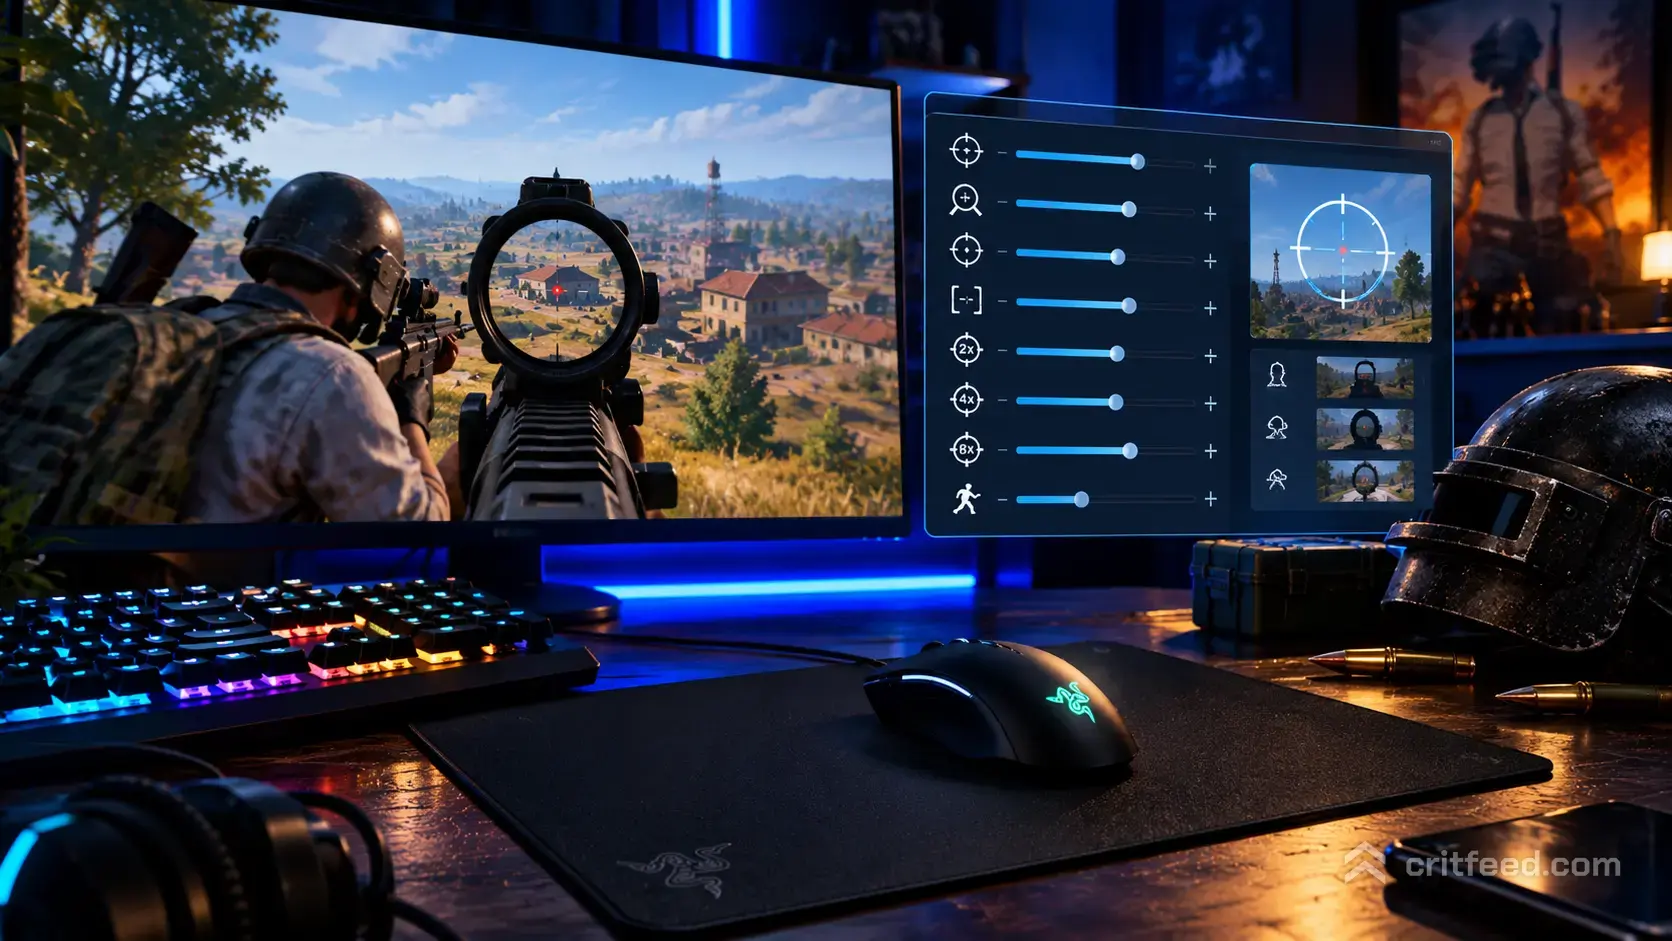
Your PUBG sensitivity is the single biggest setting that decides whether you win a close fight or get melted at 50 metres. Get it right and recoil control, flicks, and tracking all click into place. Get it wrong and no amount of grip tape will save you.
We built this guide from the values competitive PUBG PC pros actually use, broken down by category so you can tune each slider on its own.
The Short Answer
If you want a starting point and nothing else, use this:
| Setting | Value |
|---|---|
| DPI | 400-800 |
| Windows Pointer Speed | 6/11 |
| General Sensitivity | 50 |
| Vertical Sensitivity Multiplier | 1.00 |
| Targeting (ADS) | 46-50 |
| Scope 1x (Red Dot/Holo) | 50 |
| Scope 2x | 44 |
| Scope 3x | 36 |
| Scope 4x | 30 |
| Scope 6x | 20 |
| Scope 8x | 14 |
These are tuned so your 360° distance stays close to the same at every scope. That’s the whole point: muscle memory should carry across the magnification tree instead of resetting every time you swap optics.
Why PUBG Sensitivity Works Differently
PUBG does not use a single multiplier like most shooters. Each scope has its own slider, and the game ships with values that feel wildly different per magnification. A 50 on 2x is nothing like a 50 on 6x.
The goal is per-scope matching. You want the same wrist movement to swing the same arc through every optic, from your iron sights to an 8x. Pros spend hours tuning this because an unmatched 4x will throw off every long-range engagement.
DPI, Windows Settings, and eDPI
Before you touch the in-game sliders, lock down the layer underneath.
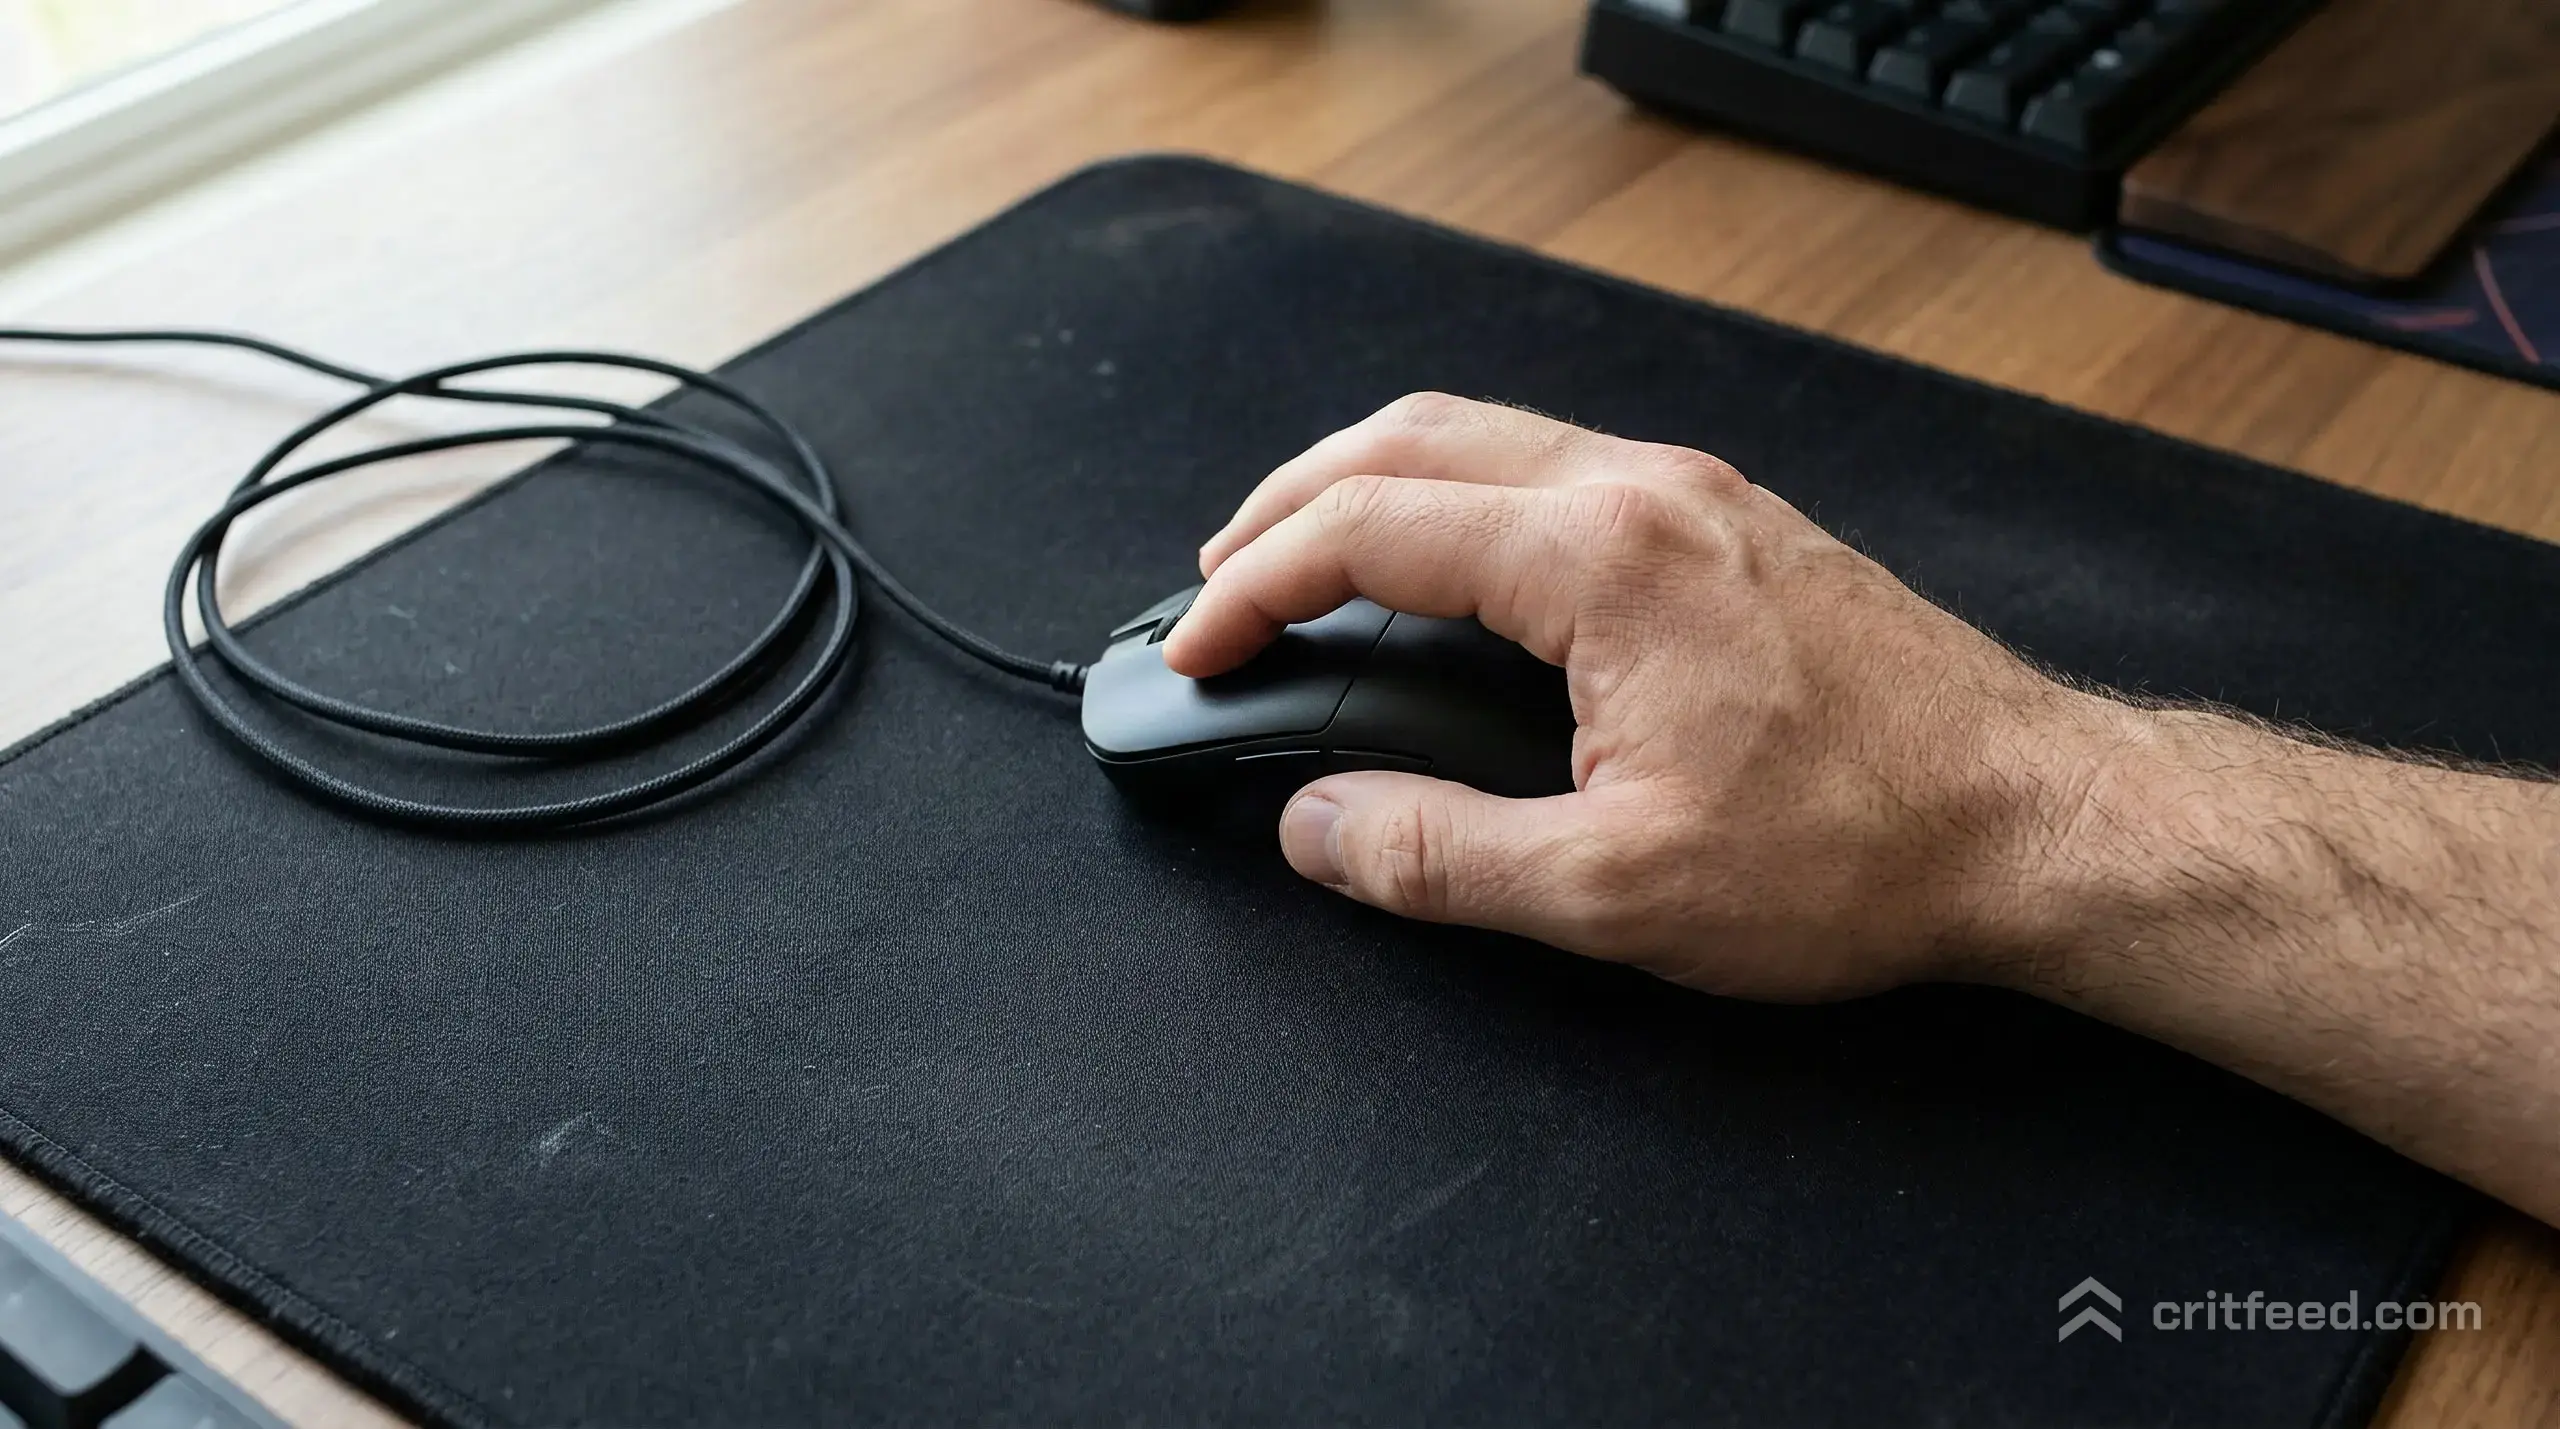
- DPI: 400 or 800 is the pro standard. 1600 is the ceiling. Higher than that and small aim corrections become jittery
- Windows pointer speed: 6/11 (the default middle notch). Any other value applies a non-linear curve
- Enhance Pointer Precision: OFF. Always. It is Windows mouse acceleration under a friendly name
- Polling rate: 1000 Hz or higher if your mouse supports it
Your eDPI is DPI multiplied by in-game sensitivity. Most PUBG pros sit between 20,000 and 40,000 eDPI for their general sense, which is lower than Valorant or CS2 standards because PUBG’s engagements favour stability over flicks.
For hardware pairings that keep this layer clean, our best gaming mouse for pubg and best mousepad for pubg picks are a good starting point.
General and Vertical Sensitivity
General Sensitivity controls hipfire and third-person look. Pros overwhelmingly sit between 40 and 55 here. Lower than 40 and you cannot turn fast enough to catch flankers; higher than 55 and your tracking falls apart beyond 20 metres.
Vertical Sensitivity Multiplier should stay at 1.00. Anything else breaks the natural feel of recoil pulldown. PUBG’s recoil is mostly vertical, so if your vertical axis is slower than horizontal, your spray control gets harder, not easier.
ADS and Scope Sensitivity
This is where most players lose fights without realising it. The in-game default scope values are not matched: moving from a red dot to a 4x will feel like someone changed your mouse behind your back.
Scoped Sensitivity: What Each Slider Controls
- Targeting Sensitivity: hold-breath aim. Keep it close to your general sense
- Scope 1x: red dot, holographic, iron sights
- Scope 2x: the Aimpoint-style 2x
- Scope 3x: the ACOG-equivalent
- Scope 4x: workhorse mid-range optic
- Scope 6x: variable zoom at 3x setting most pros use 25-30
- Scope 8x: long-range sniping
A Matched Scope Setup
The pro-tested values at the top of this article are matched using the “paper test”: at a fixed distance from a target, the same mouse movement sweeps the same arc through every scope. If you want to tune further, start at those numbers and adjust each scope individually, not all at once.
Pro tip: when you change your DPI or general sense, you must retune every scope slider. They are not linked.
Camera, FOV, and Why They Matter
Sensitivity does not exist in a vacuum. Field of View and camera settings change how fast the world appears to move at a given slider value.
- FPP Camera FOV: 103 is the competitive standard. It gives the widest usable viewing angle without warping targets
- ADS FOV: tied to the game, not adjustable
- Camera sensitivity (General): this is your third-person free-look. Set it close to your general sense so switching cameras does not disorient you
A full breakdown of the surrounding video and gameplay options lives in our best pubg settings guide.
How to Tune Your PUBG Sensitivity in One Session
Do this once, properly, and you will not touch the sliders again for months.
- Lock your DPI at 400 or 800 and confirm Windows is at 6/11 with Enhance Pointer Precision off
- Set General Sensitivity by jumping into the training range and hipfiring at the close targets. Adjust until a comfortable arm sweep covers 180°
- Set Targeting (ADS) by holding right-click and tracking the moving targets. It should feel 90-95% as fast as your hip
- Match Scope 1x to your Targeting value. They should feel identical
- Work up the scope tree: 2x, 3x, 4x, 6x, 8x. For each, pick a reference point on the range wall and sweep the same wrist movement. Lower the value until the arc covers the same distance as the previous scope
- Test in a real match. Expect to re-tune 6x and 8x after your first proper long-range fight
Common PUBG Sensitivity Mistakes
- Copying a pro’s config without matching their DPI. A pro’s 50 at 400 DPI is nothing like your 50 at 1600 DPI
- Tuning scope values from highest to lowest. Always build up from the red dot. The low scopes anchor your muscle memory
- Changing settings mid-grind. Give any change at least five matches before deciding it feels wrong
- Running vertical multiplier below 1.0. You will fight your own recoil pulldown
- Ignoring your mousepad surface. A worn pad changes glide and makes your sense feel inconsistent. Replace it before blaming the settings
Combine this with the right spray patterns from our pubg best weapons and attachments guide and your mid-range gunfights change fast.
Sensitivity for Different Playstyles
Not every player needs the same numbers. Match your sense to how you actually play.
| Playstyle | General | ADS | Notes |
|---|---|---|---|
| Hot-drop aggressor | 50-55 | 48-52 | Fast turns matter more than long-range precision |
| Balanced squad player | 45-50 | 46-50 | The all-rounder zone most pros live in |
| Long-range marksman | 40-45 | 44-48 | Lower everything to stabilise 6x and 8x |
| Solo FPP sniper | 38-42 | 42-46 | Prioritises steady scopes over close-range swings |
If you are new, the balanced row is where to start. Our pubg beginner guide walks through the rest of the settings around sensitivity, and pubg tips and tricks covers the habits that matter more than any slider.
Testing Sensitivity in the Training Range
The training mode is the only place to tune without match pressure. Use it properly:
- Short-range targets: test hipfire and ADS swings
- Moving targets: test tracking at your Targeting value
- Long-range plates: test every scope above 2x individually
- Recoil pattern wall: full-auto on an AK-equivalent to confirm your vertical multiplier is doing its job
Spend 15 minutes here after any change. If a scope still feels off, adjust that single slider by 2-3 points and retest. Never change multiple sliders at once.
Final Thoughts
Good PUBG sensitivity is not about chasing a pro’s exact numbers. It is about matching every scope to the same wrist movement, keeping your DPI and Windows settings clean, and leaving the vertical multiplier alone. Once that stack is set, your gunfights get quieter, your recoil control improves, and you stop blaming the game when you miss.
The one thing most players never do: write your current values down somewhere. The next time a patch, a new mouse, or a bad week makes you want to tweak everything, you will have a known-good baseline to return to.