
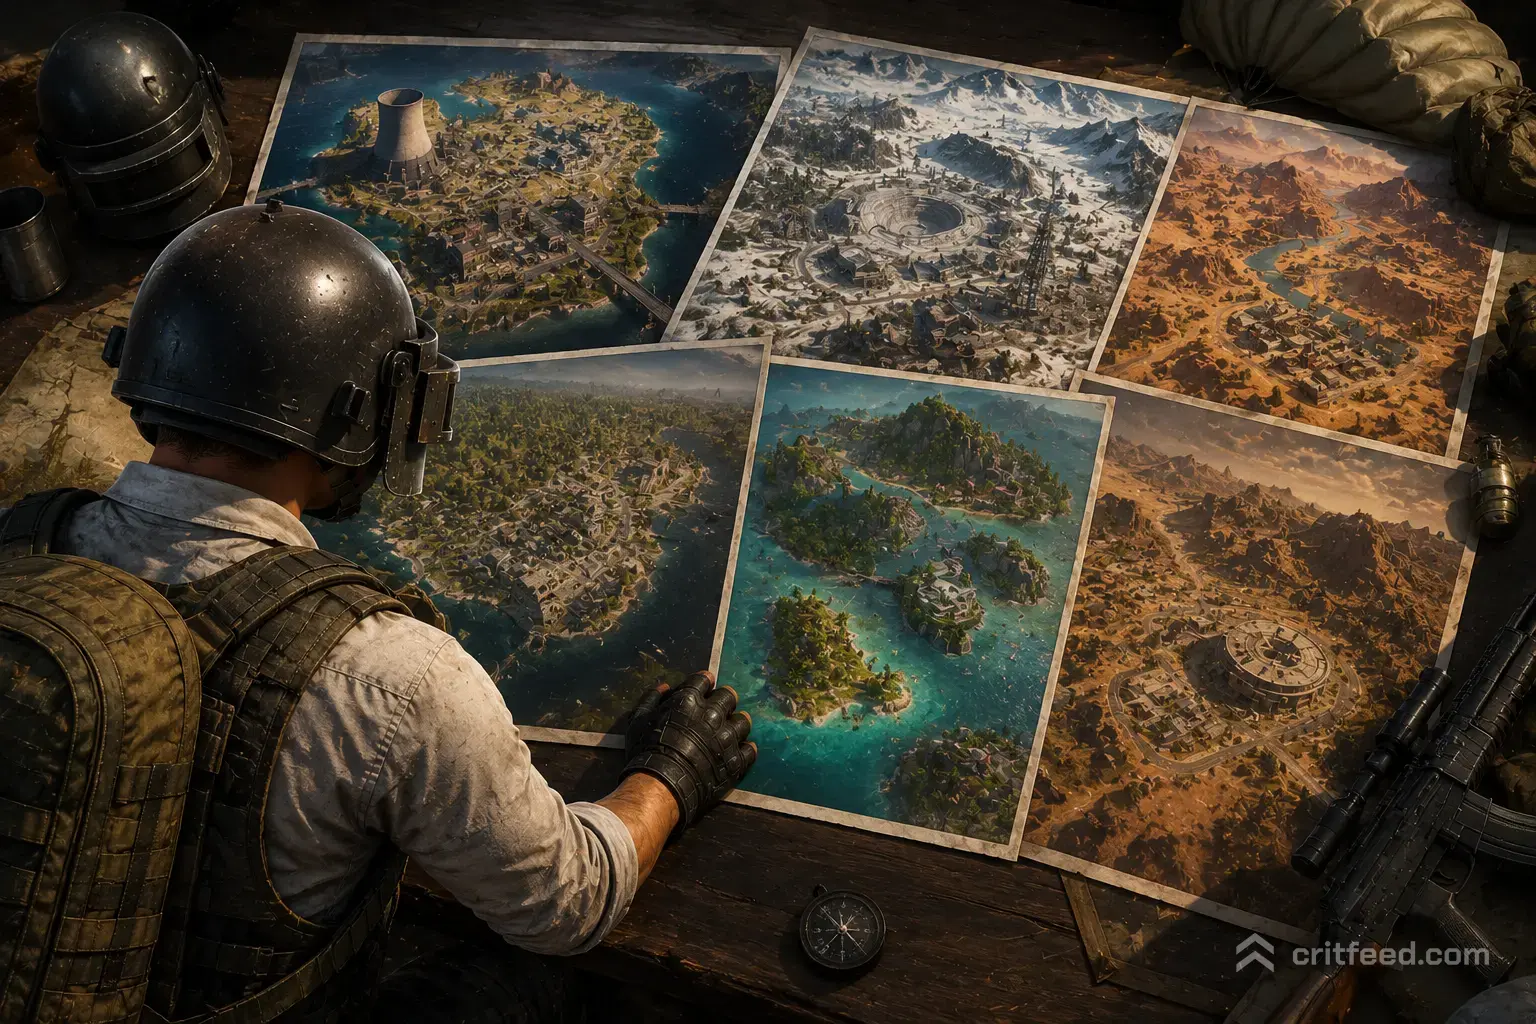
Navigating the diverse battlegrounds of PUBG PC requires far more than just quick instincts—it demands detailed map awareness, efficient rotation planning, and knowing where to drop for high-tier loot. From the rolling grassy hills of Erangel to the sprawling skyscrapers of Deston and the fast-paced jungle firefights of Sanhok, every map demands a distinct survival strategy.
Whether you are dropping into standard rotation matches or grinding out rank points, this complete pubg map guide breaks down map sizes, loot density, hot drops, and tactical rotation routes across all active environments.
Before launching out of the plane, sharpen your overall fundamentals with our PUBG beginner guide, implement elite movement tactics with our PUBG tips and tricks, gear up using the PUBG best weapons and attachments, and uncover high-tier vaults using our PUBG secret locations guide.
1. PUBG Maps at a Glance: Size & Tactical Breakdown
The map pool in PUBG PC is categorized by size, pacing, and overall engagement distances. Larger maps emphasize vehicle strategy and DMR long-range tracking, while smaller maps reward rapid close-quarters spray control.
| Map | Size | Playstyle / Pacing | Top Hot Drops | Ideal Loadout |
| Erangel | 8×8 km | Tactical / Balanced | Pochinki, Military Base, School | AR (5.56mm) + DMR / SR |
| Miramar | 8×8 km | Long-Range / Open Ridge | Hacienda del Patron, Pecado | Heavy AR (7.62mm) + High-Damage DMR |
| Taego | 8×8 km | Dynamic / Fast Respawns | Ho San, Palace, Studio | 5.56mm AR + Fast Bullet Velocity DMR |
| Deston | 8×8 km | Vertical / Urban Mobility | Ripton, Concert, Arena | AR / SMG + DMR |
| Rondo | 8×8 km | Diverse Biomes / Mid-to-Long | Jingtian, Longxi, Stadium | AR + High-Velocity DMR |
| Vikendi | 6×6 km | Medium-Range / Snow-Covered | Cosmodrome, Castle, Train Depot | AR + DMR / SR |
| Sanhok | 4×4 km | High Pacing / Close Quarters | Bootcamp, Paradise Resort | High RPM AR / SMG + DMR |
| Paramo | 3×3 km | Ultra-Aggressive / Dynamic Terrain | Lab, Capaco, Atai | SMG / Shotgun + AR |
| Karakin | 2×2 km | Bullet-Penetration Chaos | Al Habar, Cargo Ship | High RPM SMG / AR |
2. 8×8 Large Maps: Tactical & Vehicle Rotation Meta
Large 8×8 maps represent classic PUBG gameplay. Controlling high ground, managing fuel, and securing hard cover early are essential for survival.
Erangel (The Original Battleground)
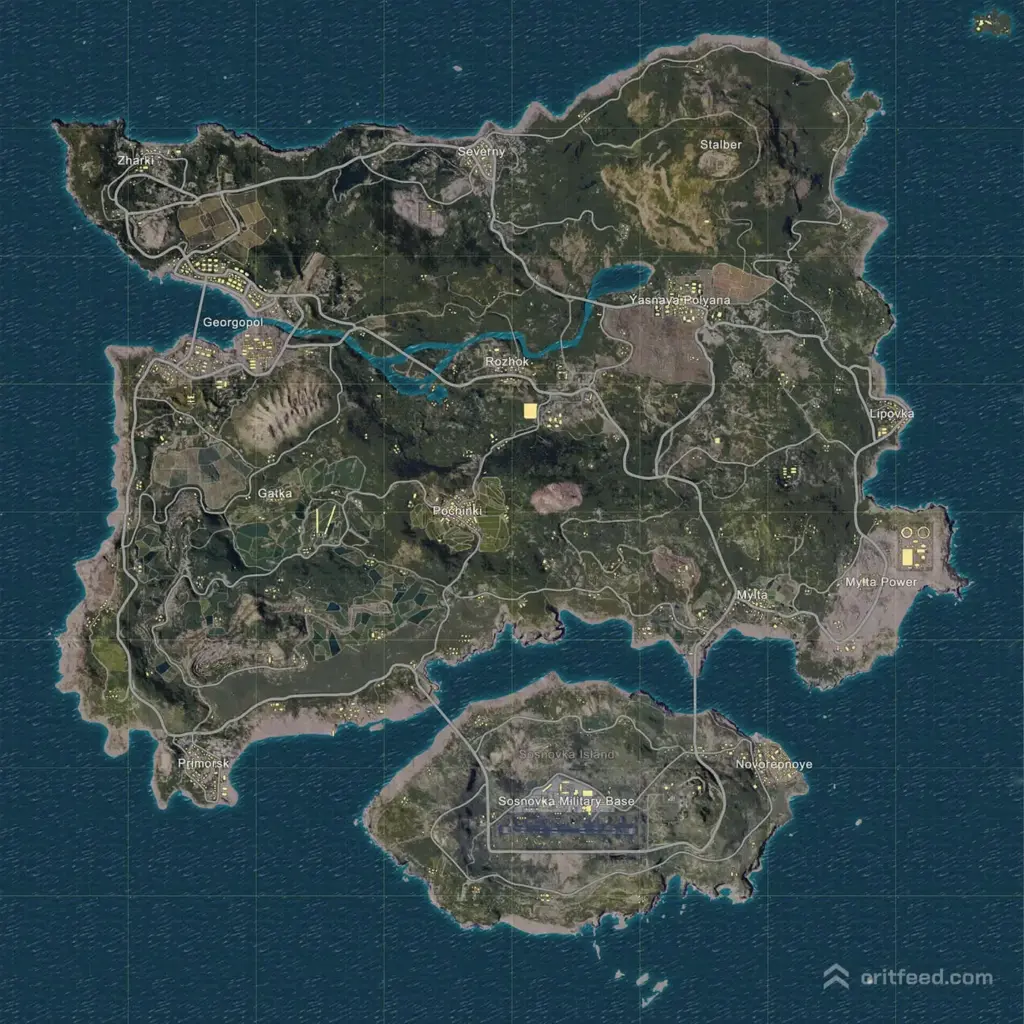
Erangel is a balanced blend of open fields, dense forests, coastal bridges, and multi-story compounds.
- Drop Strategy: If you want immediate action, land at Pochinki or Sosnovka Military Base. For safer loot and easy vehicle spawns, drop around Quarry or Ferry Pier.
- Rotation Key: Secure a Dacia or UAZ immediately along the main roadways. Watch for bridge blockades when rotating out of the southern island.
Miramar (Desert Sniping Ground)
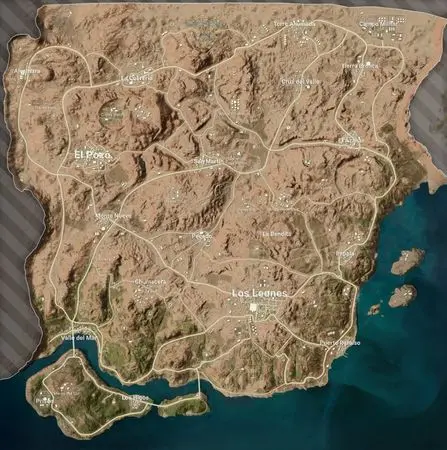
Miramar features harsh desert ridges, rock formations, and vast open sightlines.
- Drop Strategy: Pecado and Hacienda del Patron offer intense early fights. For high-tier floor loot with lower contest rates, drop near El Pozo or Campo Militar.
- Rotation Key: Off-road driving requires caution; vehicles bounce heavily on rocky ridges. Stick to dip ditches on foot to maintain line-of-sight protection from long-range snipers.
Taego & Rondo (Modern Large-Scale Arenas)
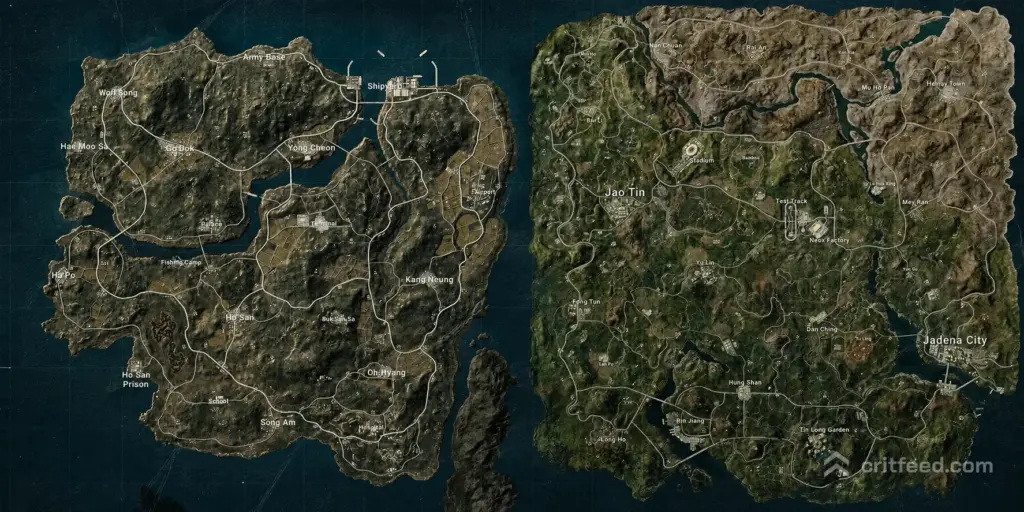
Both maps bring unique gameplay mechanics such as Comeback BRs, secret rooms, and specialized transport.
- Drop Strategy: Focus on mid-sized compounds near central roads to secure early secret keys and high-grade armor.
- Rotation Key: Take advantage of emergency pickups and Ascenders to reposition onto high ground or center-zone compounds quickly.
3. Medium & Small Maps: Rapid Pacing & CQC Dominance
Smaller maps reduce rotation travel time and push players into immediate, continuous gunfights.
- Fast Touchdown: Land quickly and secure immediate floor loot before enemies hit the ground.
- Clear Initial Sector: Clear your immediate landing compound entirely before moving toward mid-game zones.
- Edge-Play Blue Zone: Hold the narrow edge of the safe zone on smaller maps to avoid getting flanked.
Sanhok (4×4 Jungle)
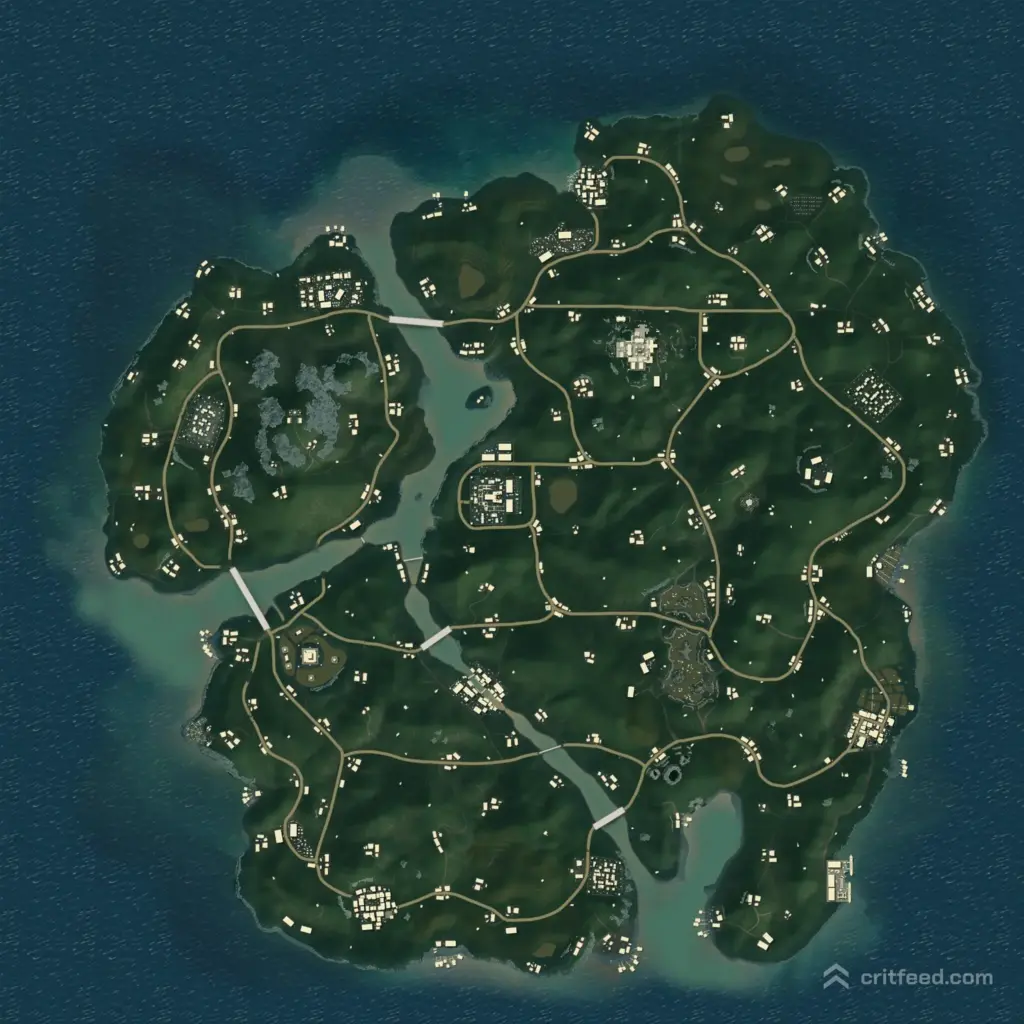
Dense foliage, river channels, and frequent rain define Sanhok. Fights occur fast and at short ranges.
- Drop Strategy: Bootcamp and Paradise Resort host non-stop early firefights. Choose Camp Alpha or Ruins for a slightly safer entry.
- Tactical Tip: Third-partying is extremely common. Equip a suppressor when possible, clear your immediate flank after every engagement, and avoid staying in open jungle grass.
Karakin & Paramo (Micro Battlegrounds)
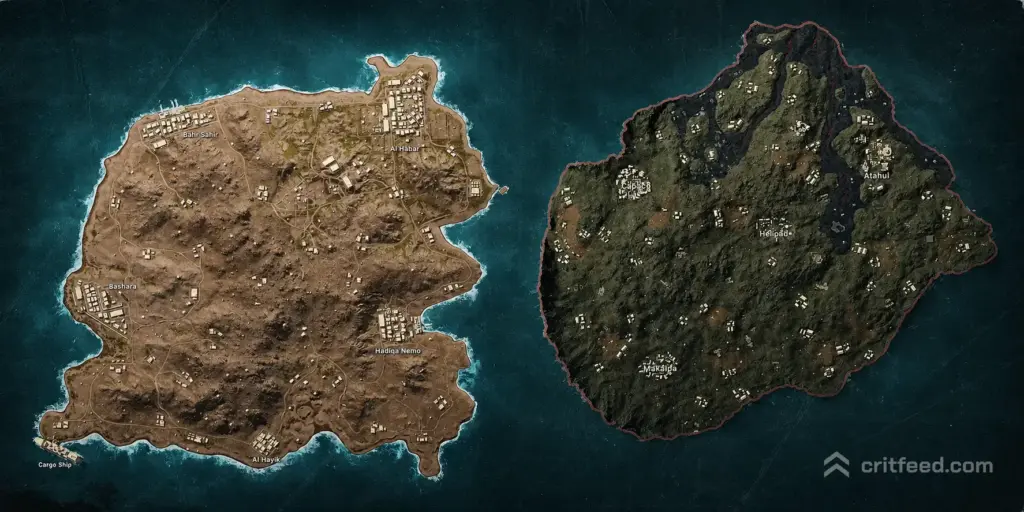
These small-scale maps feature destructible walls, sticky bombs, and constantly shifting terrain features.
- Tactical Tip: Treat sound cues as top priority. Move fast between cover, prioritize quick Aim Down Sight (ADS) builds, and never linger in one position after revealing your shot direction.
4. Map Selection & Circle Strategy Tips
- Phase 1 to Phase 3 (Early Game): Align your rotation route around central roads with guaranteed vehicle spawns on 8×8 maps. On smaller maps, clear out your landing sector entirely before advancing.
- Phase 4 to Phase 6 (Mid-Game): Move inside the white zone early to secure compounds or elevated terrain ridges. Force enemies to push through open ground toward your established cover.
- Late Game (Final Circles): Ditch heavy vehicles unless using them as deployable cover. Smoke off open angles, clear micro-dips on foot, and hold the narrow side of the Blue Zone to eliminate flank threats.
Final Thoughts
Mastering every pubg map comes down to matching your playstyle with the unique topography of each map. Whether you thrive in long-range DMR duels across Miramar’s desert hills or aggressive close-quarters pushes through Sanhok’s jungle compounds, map awareness dictates who survives the final circle. Learn the drop zones, plan your rotations around vehicle spawns, and apply these map strategies to secure consistent Chicken Dinners.