
If you have ever watched your team pound on a Tier 3 tower with no creeps around and go nowhere, you have met the wall. Learning dota 2 how to beat backdoor protection is the difference between a stalled 40-minute game and a clean high-ground close. This guide breaks down exactly how the mechanic works, what it protects, and how to punch through it.
What Backdoor Protection Actually Does
Backdoor protection is a mechanic that stops teams from quietly razing buildings without a creep wave. When it is active on a building, two things happen at once:
- The building regenerates 180 HP per second (18 HP every 0.1 seconds).
- The building takes 50% less damage from everything, and 75% less damage from illusions.
That regen ticks the instant damage lands, so plinking at a protected tower with a solo hero is nearly useless. To even break even against the heal, you need more than 270 damage per second before reductions, which is a lot to sustain on a moving target.
Which Buildings Have Backdoor Protection
Not every building is protected. Here is the exact breakdown.
| Building | Backdoor Protection? |
|---|---|
| Tier 1 towers | No |
| Tier 2 towers | Yes (each protected independently) |
| Tier 3 towers | Yes (shared base protection) |
| Tier 4 towers | Yes (shared base protection) |
| Barracks (melee and ranged) | Yes (shared base protection) |
| Ancient | Yes (shared base protection) |
| Fountain | No |
The key detail: Tier 1 towers have no backdoor protection at all. You can chop them down solo with zero creeps nearby. Everything from Tier 2 onward changes the game.
How the Protection Turns On and Off
Protection is the default state. Buildings switch off their shield only when enemy creeps enter a specific radius.
- Tier 2 towers each listen for creeps in a 900 radius around themselves.
- Tier 3, Tier 4, barracks, and the Ancient all share one aura that originates from the Ancient with a 4000 radius. Break protection on the base and everything in it becomes vulnerable together.
Once the last attacking creep in the radius dies, the building stays exposed for 15 more seconds, plus about half a second of aura linger, before the shield snaps back on.
Two rules people forget:
- Dominated or converted creeps do not disable protection. Helm of the Overlord units, Chen or Enchantress creeps, and Lycan’s summons will not turn the shield off.
- Lane creeps do. So do siege creeps. That is why pushing with a wave is the whole game.
The Real Answer: Push With Creeps
The simplest way to beat backdoor protection is the boring one: arrive with a creep wave. If lane creeps are inside the tower radius, the shield is down, and every point of your damage lands at full value.
That is why smart split-pushers time their moves to the wave, not their cooldowns. A hero who dives a Tier 3 without a wave is fighting 180 HP/s regen and eating half damage. The same hero, five seconds later with three ranged creeps in the radius, chops the tower in seconds.
If your lane management is shaky, brush up on how to pull creeps offlane dota 2 so you can control wave state and set up clean tower dives instead of stalling out.
How to Break the Base
The base shares one big shield rooted at the Ancient. That has two useful consequences:
- You do not need creeps at every building. One creep wave inside the 4000 radius disables protection on every Tier 3, every Tier 4, both barracks sets, and the Ancient at once.
- The instant that wave dies with no follow-up, the 15-second window starts. Miss the window and the whole base heals back to full behind a 50% damage shield.
Practical takeaway: send a mega-wave into the base, follow it with heroes, and commit. Chipping in for four seconds and backing off wastes the push and hands the enemy a free defensive reset.
Heroes That Force the Issue
Some heroes are built to create the wave pressure that turns protection off, or to burst so hard that the window is enough. When picking around a siege-heavy draft, look for these tools:
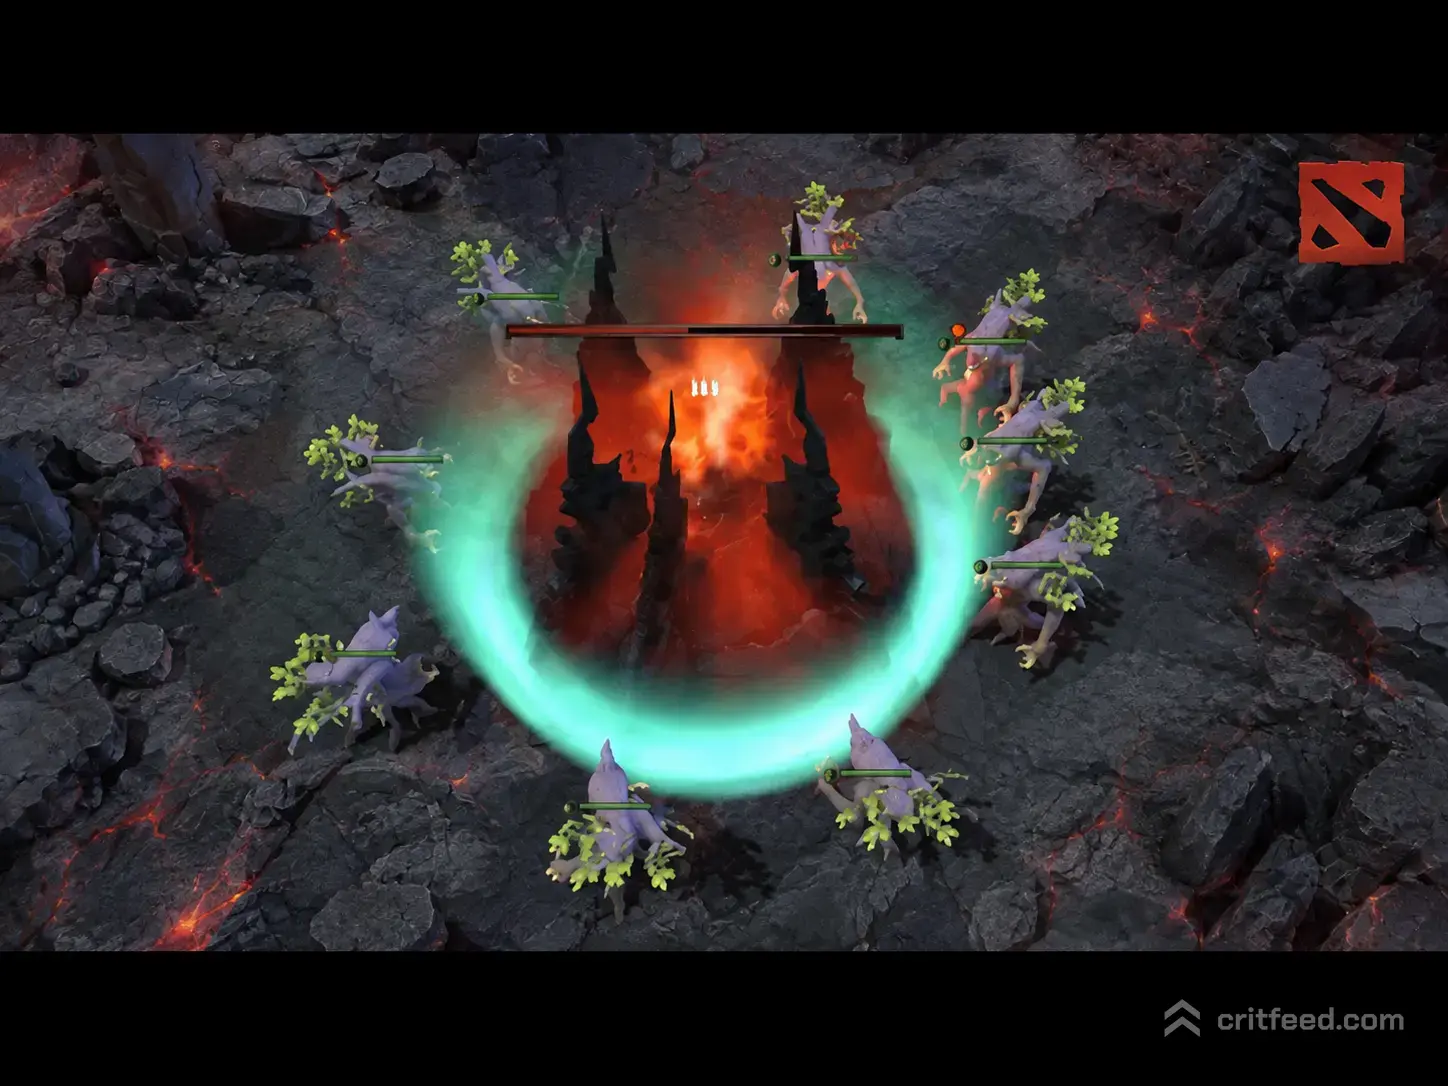
- Summon-based pressure: Nature’s Prophet’s Treants, Broodmother’s spiderlings, Lycan’s wolves. Treants especially count as attacking creeps for the aura check, letting Nature’s Prophet crack Tier 2 towers on his own if he brings them.
- Wave clear and creation: Death Prophet’s Exorcism plus a big wave, Leshrac’s Diabolic Edict, Tinker with a farmed lane.
- Illusion armies: Terrorblade’s Conjure Image and Naga Siren’s Mirror Image. Remember the 75% damage penalty on protected buildings, so illusions are for pressure and creep-clear support, not the killing blow.
- Backdoor burst: Anti-Mage with a real item timing, Terrorblade with Metamorphosis, and Tinker in the right patch can shred the base in one commit if the wave is with them.
Note that summons that are considered dominated (Helm units, Chen conversions) do not turn off protection. Native summons like Treants and Necronomicon units generally do. If you are unsure, the tell is simple: is the tower’s shield icon lit up or not?
The 15-Second Rule: Timing Your Attack
The 15-second grace window after the last creep dies is where games are won and thrown.
When you are attacking:
- Track the wave. If your ranged creep is the last one alive, that clock has not started.
- Time smoke gank timings and buyback checks before you commit, not during.
- If the wave dies and no follow-up wave is behind it, disengage. Half damage plus 180 HP/s is a losing fight.
When you are defending:
- Killing the last creep is often more valuable than killing a hero. Take the creep, restart the shield timer, and force the attackers off.
- Buy back on defense only if you can clear the wave and survive the 15 seconds. Otherwise, you burn gold for nothing.
Special Cases and Edge Rules
A few interactions catch even experienced players off guard.
- Neutral creeps and Roshan do not disable protection. Pulling Roshan into base is not a strategy.
- Illusions attacking a protected building deal only 12.5% of their normal damage (the 50% reduction stacks with the 75% illusion penalty). Bring the real hero for the kill.
- Deny range on your own base: at 10% HP, allied buildings can be denied, but you still need to actually chip them under 10% under backdoor regen, which is why base denies almost always come from enemy damage plus a last-second ally hit.
- Glyph of Fortification does not stack with backdoor protection in a useful way, but it will save a Tier 1 tower that otherwise has no shield at all.
If you are trying to convert a won teamfight into a base race, our dota 2 roshan guide covers the Aegis timings that decide whether a rax push survives the response.
A Simple Checklist Before You Dive High Ground
Use this every time you commit to a Tier 3 or barracks push:
- Is a creep wave inside the base right now? If not, wait or create one.
- Do you have a summon or wave-creator to keep the shield off? Prophet, Death Prophet, Broodmother, a big pushing hero.
- Do you have burst to close in 15 seconds? Ultimate cooldowns, BKB timings, item power spikes.
- Is Glyph up on the enemy team? If yes, factor in the extra defensive tick.
- Do you have a smoke or vision to prevent a flank? Half your damage disappears if you scatter mid-push.
Every “yes” makes the push safer. Two or more “no” answers and you are farming the enemy’s regen.
The Bottom Line
Backdoor protection is not a wall, it is a timer. Buildings behind it heal 180 HP per second and take half damage until a friendly creep wave arrives, at which point they are just buildings again. The whole art of high-ground pushing is bringing creeps, holding your commit for the full 15-second window after they die, and picking heroes who make waves faster than the enemy can clear them.
If you want to build out the rest of your closing game, our dota 2 laning guide covers the wave control that feeds into these pushes, and the dota 2 hero tier list will help you draft the summoners and split-pushers who solve high-ground on their own. For the bigger picture on closing games out from a lead, snowballing dota 2 is worth the read.