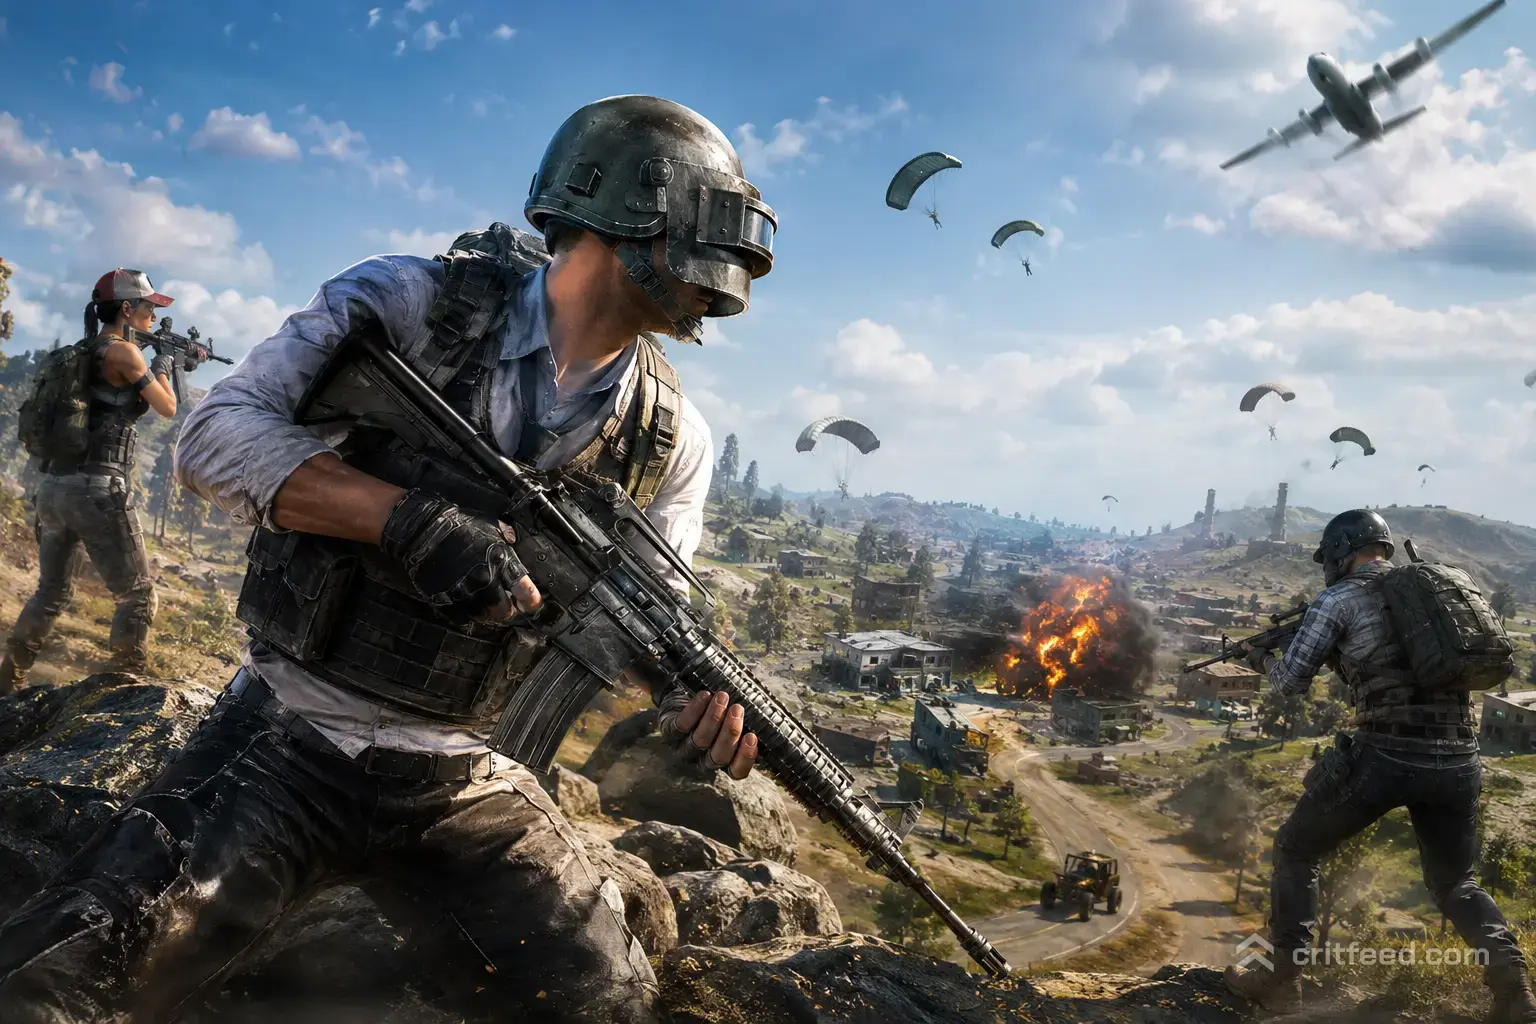
PUBG: BATTLEGROUNDS on PC is a brutal battle royale where realistic ballistics, weapon recoil, and smart positioning determine who survives. Unlike fast-paced arcade shooters, running and spraying will get you sent back to the lobby instantly.
Whether you are stepping into Erangel for the very first time or returning after major updates, this pubg pc beginner guide breaks down everything you need to master controls, choose top loadouts, control spray, and secure your first Chicken Dinner.
1. Essential Settings & Keybinds for Beginners
Optimizing your display and controls provides an immediate advantage in visual clarity and reaction speed.
Best Graphics Settings for Visibility
- Display Mode: Fullscreen (minimizes input latency).
- Overall Graphics Quality: Very Low or Low. Set Textures and Anti-Aliasing to Medium or High. This lowers visual grass clutter while making enemy character models pop out at long distances.
- Sharpen: Enabled. Highlights player outlines across open terrain.
Crucial Keybind Tweaks
- Separate Jump and Vault: Go to Settings > Key Binding > Movement. Unbind vaulting from Spacebar. Set Jump Only to
Spacebarand Vault Only to an accessible key likeVor a mouse side button. This prevents accidental vaulting animations when you only mean to jump-peek over cover. - Crouch: Set to Hold or Toggle based on preference. Fast crouching is essential for controlling recoil.
- Quick Marker: Bind your Quick Marker to
Left Mouse ButtonorMiddle Mouse Buttonto ping enemy locations for your team without opening the world map.
2. Core Game Mechanics Explained
Survival in PUBG PC relies on managing health, understanding armor damage reduction, and reading the map layout correctly.
+-----------------------------------------------------------------------+
|                             HEALTH BAR (100 HP)                        |
+---------------------------------------------------+-------------------+
|  Standard Healing (Bandages/First Aid) maxes 75HP  | Boost Heals 75-100|
+---------------------------------------------------+-------------------+
Health, Healing & Boosters
- First Aid Kits & Bandages: Standard medical supplies only heal up to 75 HP.
- Med Kits: Rare consumables that restore health to 100 HP instantly.
- Boosters (Energy Drinks, Painkillers, Adrenaline Syringes): Fills your boost gauge to passively heal you from 75 to 100 HP. Raising your boost bar past 60% grants a movement speed boost.
Equipment & Armor Breakdown
| Gear Level | Protection & Benefits |
|---|---|
| Level 1 (Grey) | Base gear. Helmet absorbs non-sniper headshots; Vest offers 30% torso damage reduction. |
| Level 2 (Green/Police) | Standard loadout target. Vest offers 40% damage reduction; Backpack provides ample storage. |
| Level 3 (Military/Airdrop) | High-tier protection. Level 3 Helmet stops single-shot headshots from Kar98k and M24 snipers. |
Map Grid Navigation
- Large Grid Squares (Yellow): 1,000 meters (1 km) x 1,000 meters.
- Small Grid Squares (White): 100 meters x 100 meters. Use white grid squares on your minimap to judge throw distances for grenades or lead targets with long-range weapons.
3. Inventory Weight & Item Management
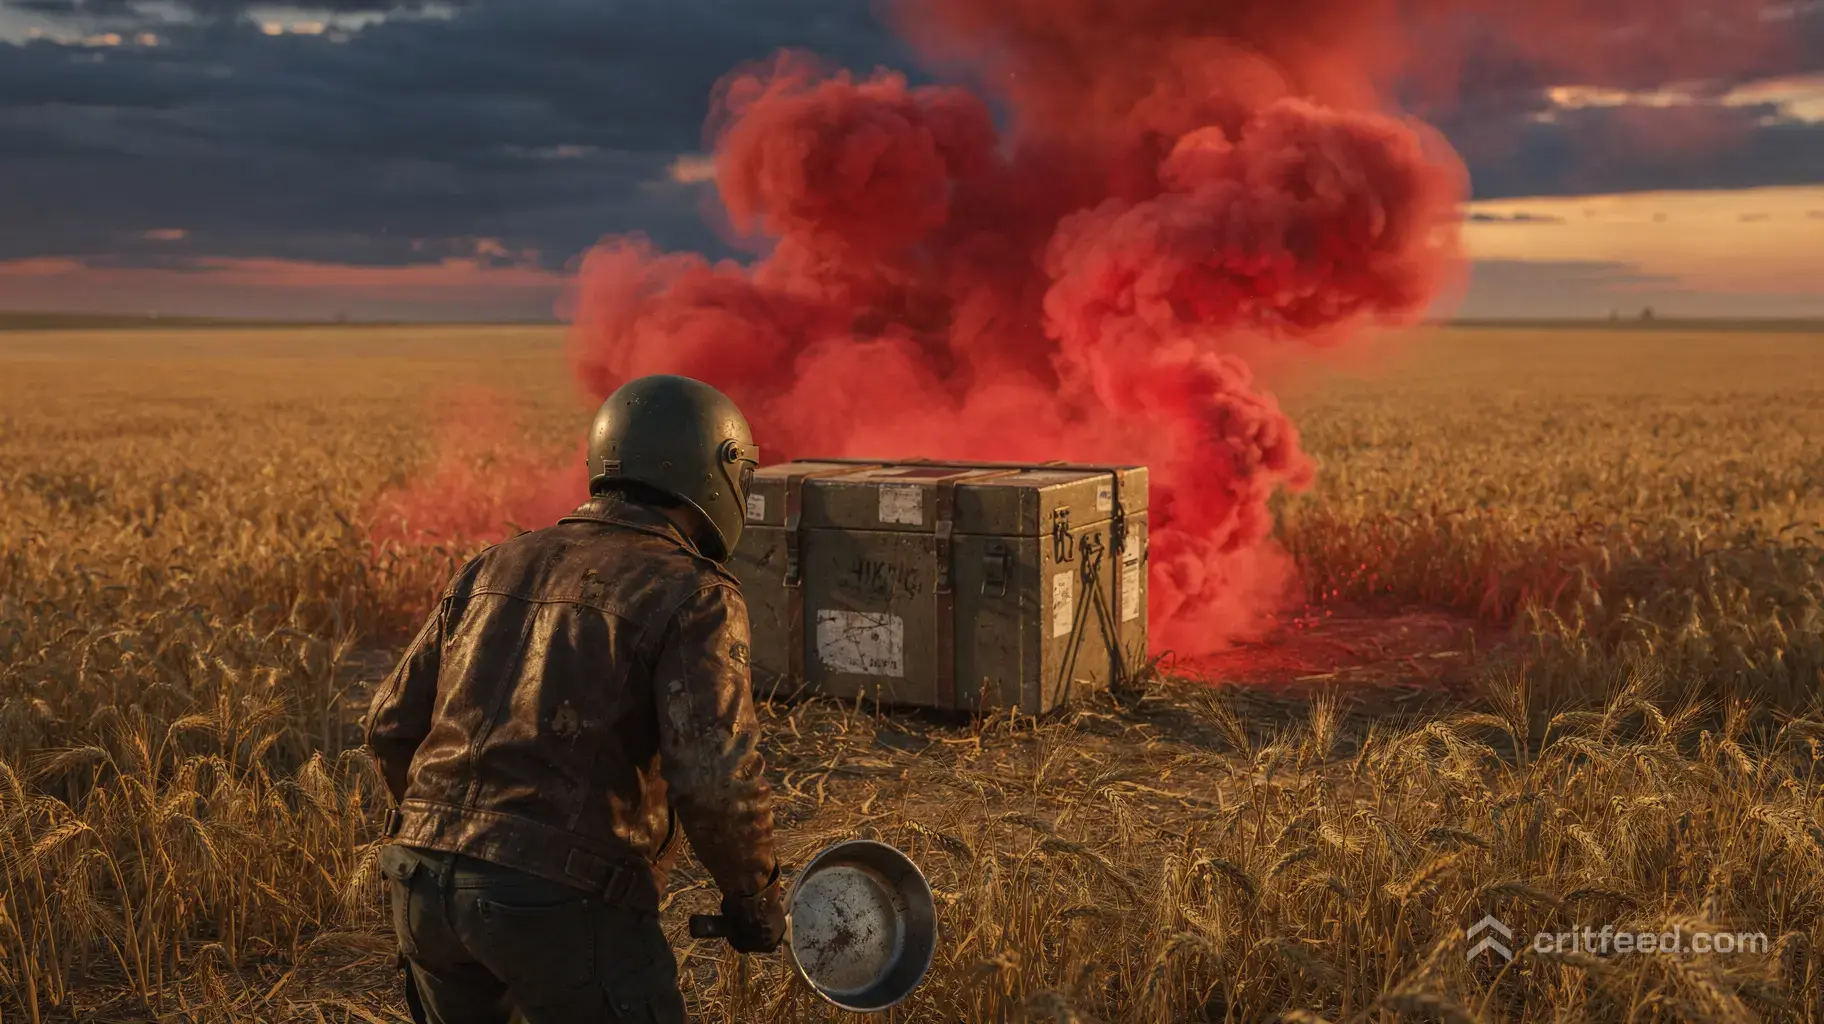
Every consumable and bullet has inventory weight. Keeping a clean inventory ensures you carry what matters without running out of space.
Optimal Backpack Layout
├── Primary Ammo: 140-160 rounds (Assault Rifle) | 80-100 rounds (DMR)
├── Healing Items: 4x First Aid Kits | 5x Bandages
├── Booster Items: 5-7x Energy Drinks | 2x Painkillers
└── Throwable Utility: 2-3x Smoke Grenades | 2x HE Grenades or Molotovs
- Energy Drinks vs. Painkillers: Energy Drinks occupy half the inventory space of Painkillers while delivering better booster-to-weight efficiency.
- Stock Smoke Grenades: Smoke grenades create artificial cover in open fields and allow safe revives on downed teammates. Always carry 2 to 3.
4. Best Weapons & Beginner Loadouts
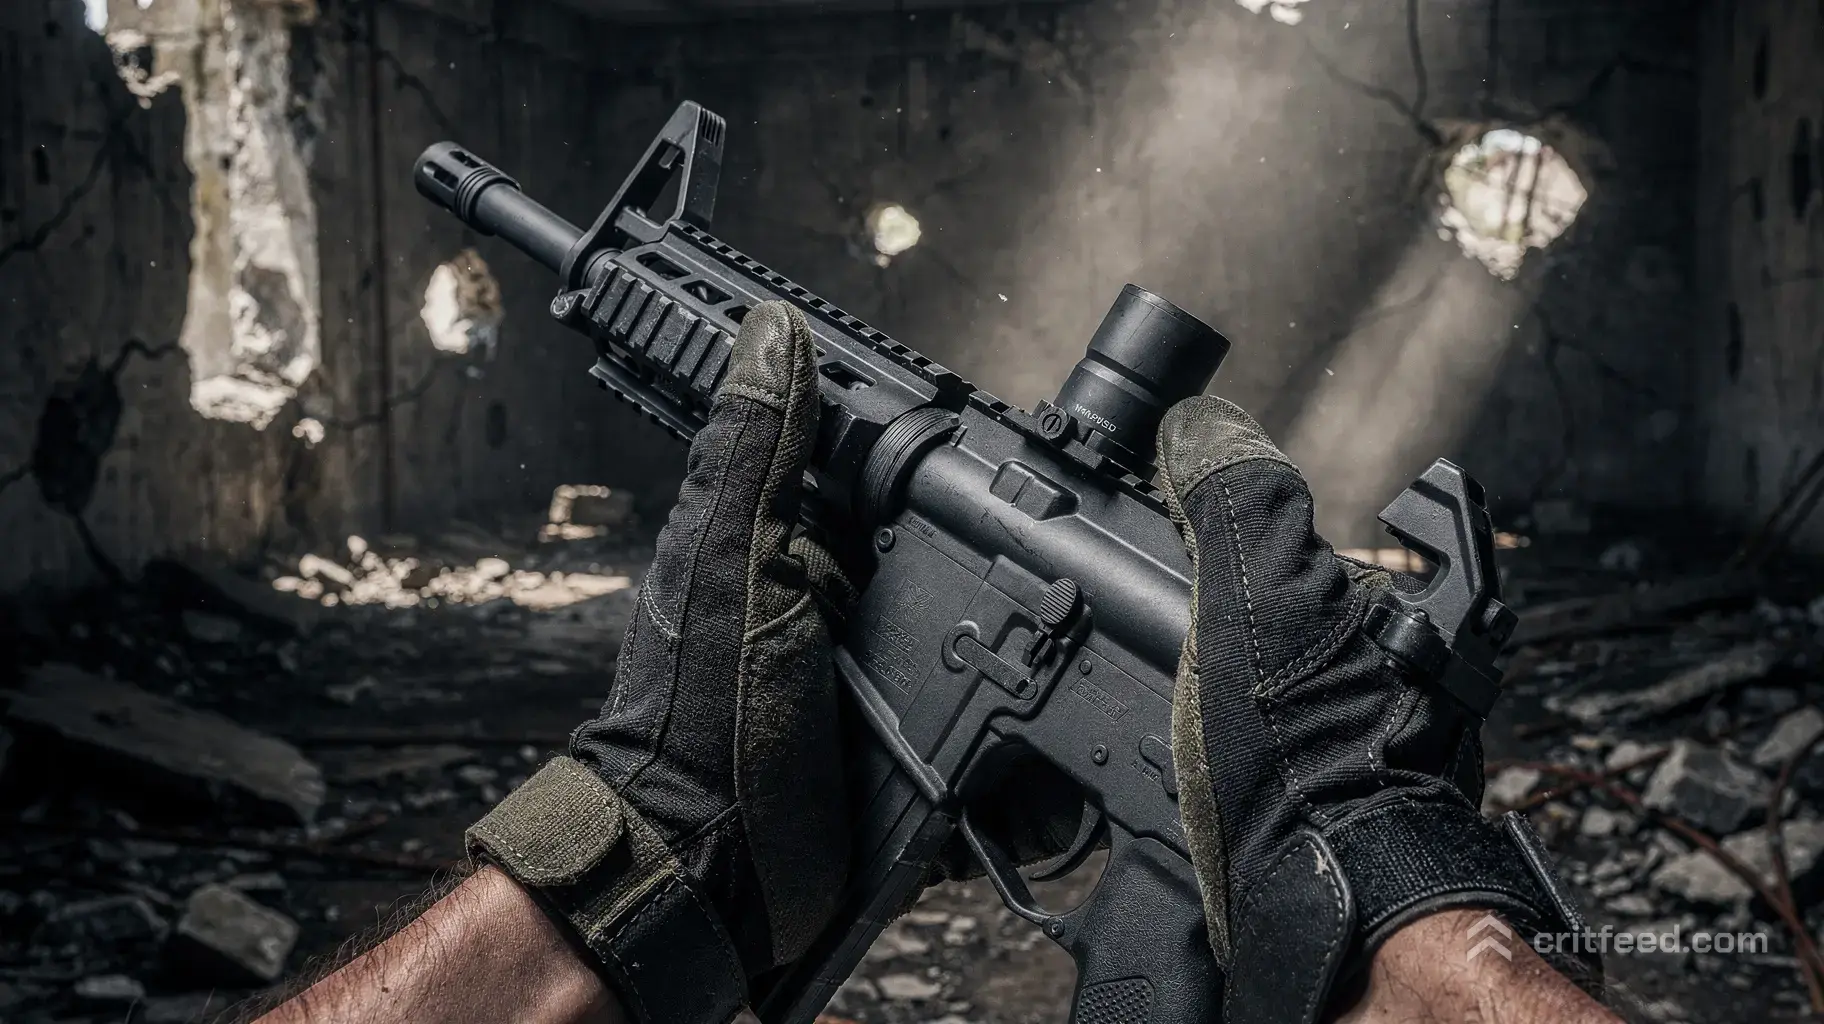
Weapon choice in PUBG PC comes down to managing bullet speed, damage drop-off, and spray mechanics.
Weapon Tier List
| Tier | Category | Key Weapons | Playstyle Role |
|---|---|---|---|
| S+ Tier | Assault Rifles (AR) | AUG, M416, Beryl M762 | Primary spray weapons for close-to-mid range. |
| S Tier | Designated Marksman Rifles (DMR) | Mini-14, SLR, Dragunov | Rapid tap-firing for medium-to-long range combat. |
| A Tier | Bolt-Action Snipers (SR) | Kar98k, M24 | High single-shot damage against stationary targets. |
| B Tier | Submachine Guns (SMG) | JS9, Vector, UMP45 | High hip-fire accuracy for close quarters. |
Recommended Beginner Combos
- The 5.56mm Versatility Build:
AUG / M416+Mini-14- Why it works: Shares one ammo type to save inventory space. High bullet speed, low recoil, and reliable at all ranges.
- The 7.62mm Heavy Hitter Build:
Beryl M762+SLR / Dragunov- Why it works: Highest damage output for close sprays and mid-range single taps.
Core Attachments
- AR Setup: Compensator + Vertical Foregrip + Extended QuickDraw Mag + Red Dot Sight + Tactical Stock.
- DMR Setup: Compensator + Lightweight/Vertical Grip + Extended QuickDraw Mag + Cheek Pad + 6x/8x Scope.
5. Recoil Control & Combat Techniques
PUBG features procedural recoil patterns without built-in aim assist.
       Recoil Compensation Technique

            [ Aim Point ]  <-- Crosshair starting position
                 |
                 |  Pull mouse straight DOWN
                 v  at a smooth, constant rate
            [ Steady Spray ]
Controlling Spray Patterns
- Pull Down Smoothly: When firing an automatic AR, pull your mouse downward in a continuous motion to counter vertical recoil.
- Always Crouch Before Firing: Crouching reduces weapon recoil by roughly 15-20% immediately. Get into the habit of crouching as soon as you press the trigger.
Right-Side Peeking
Character models in PUBG PC are right-handed. Leaning to the right around cover exposes far less of your body than leaning left. Avoid standing still while leaning; peek out, fire a burst of 4 to 6 shots, and pull back into cover.
Executing a Drive-By
- Build speed in a vehicle along a straight path.
- Switch to a passenger seat using
Ctrl + 2orCtrl + 3. - Hold
Wwhile aiming down sight (ADS) to maintain coasting momentum while firing at targets.
6. Landing Mechanics & Rotations
Reaching the ground first allows you to secure weapons and loot safely before nearby squads.
Fast Drop Trajectory
[ Plane Path ] ──────────────────┐ 700m-800m distance mark
                                 \
                                  \ Steep diagonal dive (234 km/h)
                                   \
                                    v [ Target Drop Zone ]
Landing Speed Guide
- Place a marker on your drop zone.
- Eject from the aircraft when you are 700 to 800 meters away from your destination.
- Point your camera down and dive diagonally until your speed reaches 234 km/h.
- Reaching maximum dive speed forces your chute to open lower, putting you on the ground seconds before rival players.
Managing Blue Zone Rotations
- Stages 1–3: The Blue Zone deals light damage. Use this time to loot up, acquire healing gear, and secure a vehicle.
- Stage 4 Onward: The Blue Zone inflicts heavy damage. Secure vehicles early and rotate ahead of the circle to capture strong compound positions inside the safe zone.