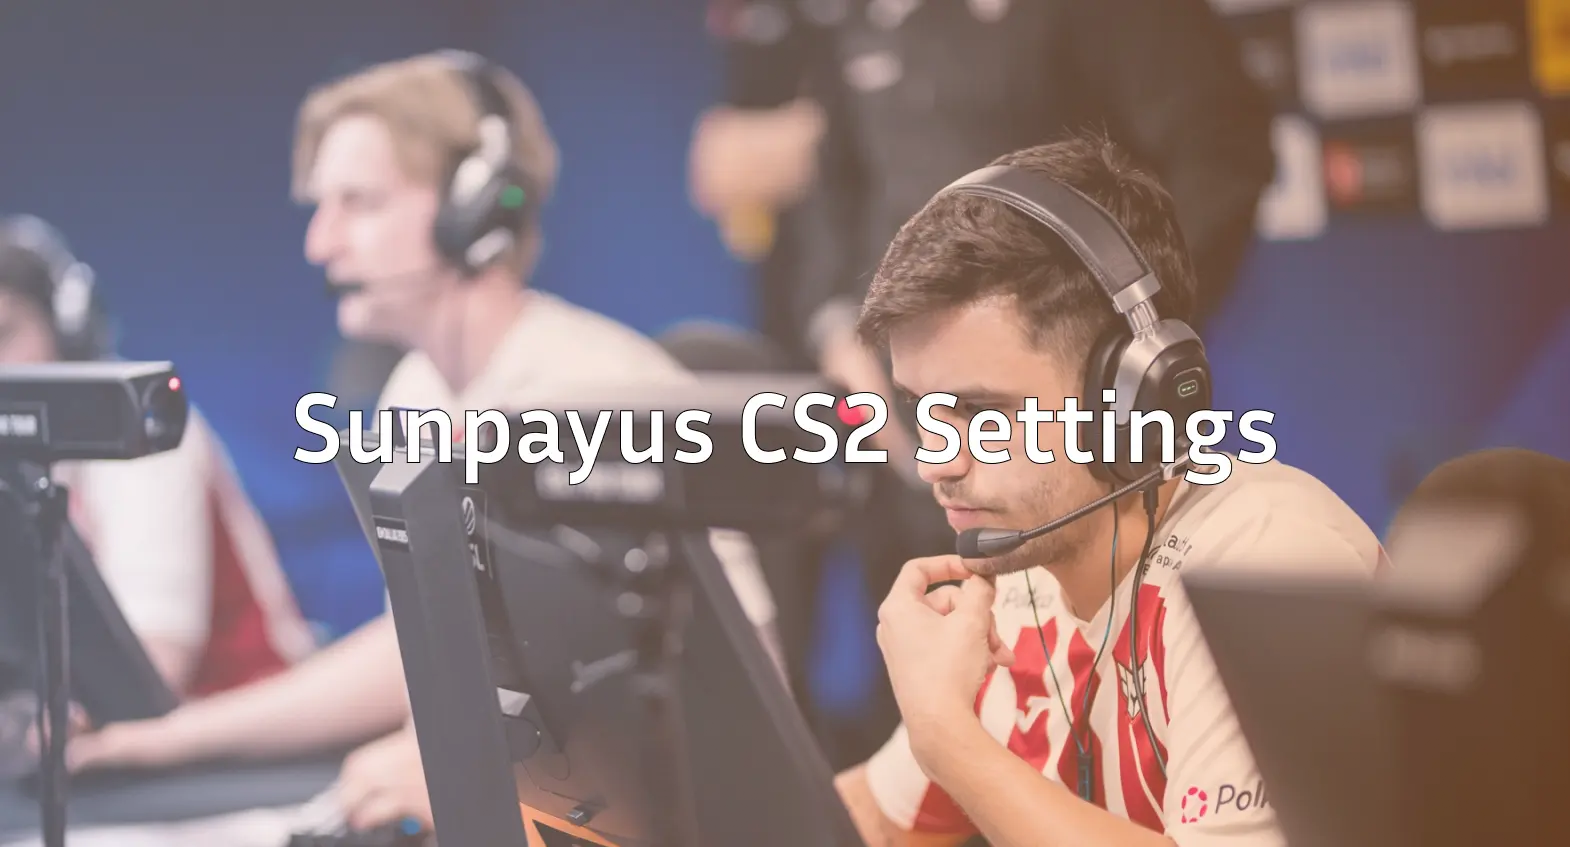
İsmailcan “sunpayus” Dörtkardeş has emerged as one of the most exciting AWPers in professional Counter-Strike. If you’re looking to replicate the sunpayus CS2 setup, this guide breaks down every setting he uses to dominate with the big green gun.
From his precise crosshair to his mouse sensitivity, we’ve compiled everything you need to mirror this Turkish star’s configuration.
Who Is Sunpayus?
Sunpayus is a professional CS2 player from Turkey who has made a name for himself as a primary AWPer with exceptional flick shots and aggressive positioning.
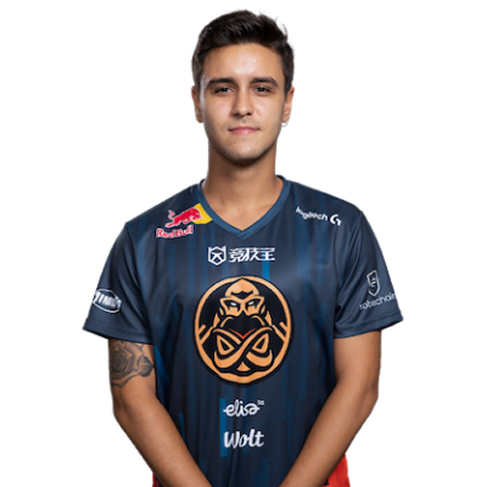
His playstyle combines raw mechanical skill with smart angle selection, making him dangerous on both T and CT sides. Whether he’s holding long angles or taking aggressive peeks, sunpayus consistently delivers highlight-reel plays.
Sunpayus Mouse Settings
Your mouse settings directly impact your aim, and sunpayus uses a setup optimized for AWP precision while maintaining flexibility for rifle rounds.
| Setting | Value |
|---|---|
| DPI | 400 |
| In-Game Sensitivity | 2.0 |
| eDPI | 800 |
| Zoom Sensitivity | 1.0 |
| Polling Rate | 1000 Hz |
| Windows Sensitivity | 6 |
| Raw Input | On |
His eDPI of 800 sits in the medium-low range, which is common among professional AWPers. This allows for precise micro-adjustments when scoped while still enabling comfortable 180-degree turns.
The 1.0 zoom sensitivity means his scoped sensitivity feels consistent with his unscoped aim—a preference many AWP players share for muscle memory consistency.
Sunpayus Crosshair Settings
Even as an AWPer, having a clean crosshair matters for eco rounds and rifle situations. Sunpayus uses a simple, static crosshair that doesn’t distract from targets.
| Setting | Value |
|---|---|
| Style | 4 (Classic Static) |
| Color | Green |
| Size | 2 |
| Thickness | 0 |
| Gap | -3 |
| Outline | No |
| Dot | No |
Crosshair Code:
CSGO-sJxdP-zYnQK-4WGRL-vCbNf-yKmHAThis creates a small, tight crosshair that’s easy to place on heads without obscuring your view. The negative gap pulls the lines close together, creating precise center focus.
To apply this crosshair, open your console and paste the code, or navigate to Settings > Game > Crosshair and import it directly.
Sunpayus Video Settings
Performance matters in competitive CS2. Sunpayus prioritizes high frame rates over visual fidelity, which is standard among professional players.
| Setting | Value |
|---|---|
| Resolution | 1280×960 |
| Aspect Ratio | 4:3 |
| Scaling Mode | Stretched |
| Display Mode | Fullscreen |
Graphics Settings
| Setting | Value |
|---|---|
| Global Shadow Quality | Medium |
| Model/Texture Detail | Low |
| Texture Filtering | Bilinear |
| Shader Detail | Low |
| Particle Detail | Low |
| Ambient Occlusion | Disabled |
| High Dynamic Range | Performance |
| FidelityFX Super Resolution | Disabled |
The 4:3 stretched resolution makes player models appear wider on screen, which many pros believe makes targets easier to track. This comes at the cost of reduced peripheral vision, but sunpayus compensates with excellent crosshair placement and game sense.
Sunpayus Viewmodel Settings
Your viewmodel affects how your weapon appears on screen. While it doesn’t impact gameplay directly, comfort and visibility matter during long sessions.
viewmodel_fov 68viewmodel_offset_x 2.5
viewmodel_offset_y 0
viewmodel_offset_z -1.5
viewmodel_presetpos 3
cl_righthand 1
These settings push the weapon slightly to the right and down, keeping the screen clear for spotting enemies. If you prefer a different hand, check out our guide on the left hand command CS2.
Sunpayus Launch Options
Launch options can help optimize your game’s performance before it even loads.
-novid -tickrate 128 -high| Option | Purpose |
|---|---|
| -novid | Skips intro video for faster launch |
| -tickrate 128 | Sets offline server tickrate to 128 |
| -high | Gives CS2 high CPU priority |
For a complete breakdown of available options, read our CS2 launch options guide.
Sunpayus Keybinds
While most of sunpayus’s keybinds follow standard layouts, AWPers often customize their quick-switch binds for faster weapon swapping after shots.
Essential AWP bind:
bind "q" "lastinv"This allows rapid switching between the AWP and your pistol, which is crucial for repositioning after a shot. Many AWPers also bind their Desert Eagle or USP-S to specific keys for instant access.
For more bind customization options, explore our CS2 binds guide.
How to Apply These Settings
Follow these steps to copy sunpayus’s configuration:
- Launch CS2 and open the settings menu
- Import the crosshair code under Game > Crosshair
- Adjust mouse settings to match his DPI and sensitivity
- Change resolution to 1280×960 stretched under Video settings
- Lower graphics settings for maximum FPS
- Open console and paste viewmodel commands
- Add launch options through Steam library properties
Your config files are stored in a specific folder if you want to back them up. Check our CS2 config location guide for the exact path.
Tips for Using Sunpayus’s Settings
Copying pro settings won’t instantly make you a better player, but it provides a solid foundation. Here’s how to get the most from this setup:
- Give stretched resolution time—it feels strange at first but improves with practice
- Don’t change sensitivity constantly—stick with 800 eDPI for at least a week
- Practice your flicks in aim trainers or deathmatch servers
- Focus on positioning since AWPing relies heavily on angle selection
If you want to practice offline, our CS2 practice commands guide covers everything from infinite ammo to grenade trajectories.
Conclusion
The sunpayus CS2 setup combines medium-low sensitivity, stretched resolution, and clean crosshair settings that work perfectly for an aggressive AWP playstyle. While these settings won’t guarantee you’ll hit every flick shot, they provide the same foundation one of CS2’s rising stars uses.
Experiment with these settings, give them time to feel natural, and focus on improving your fundamentals.