
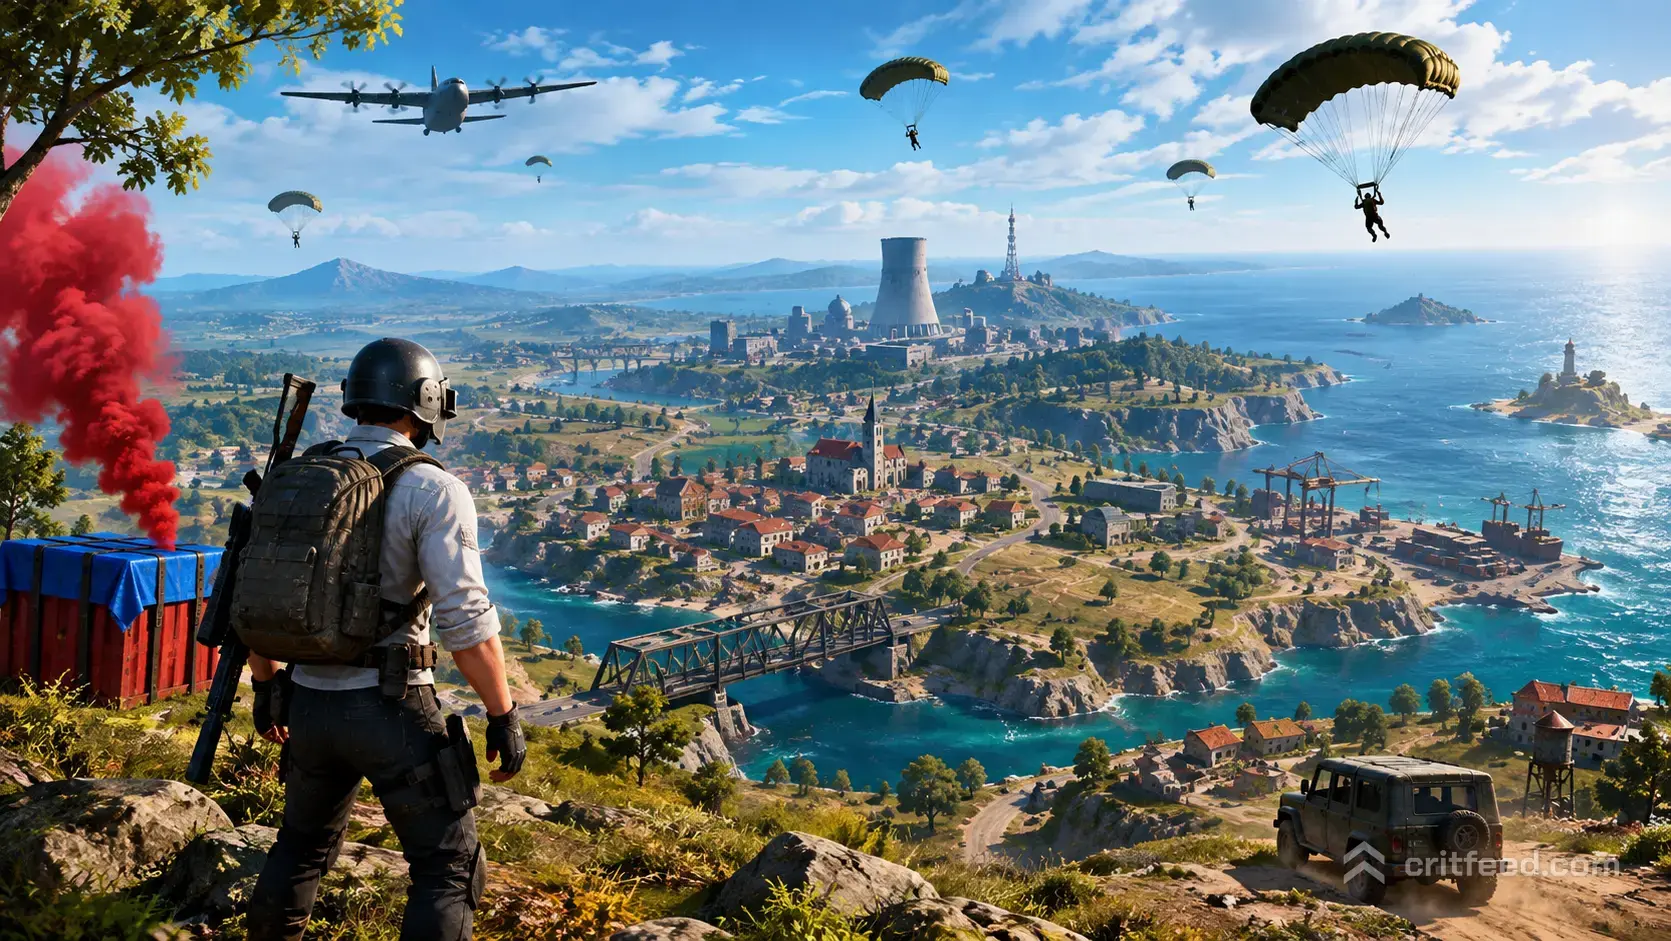
Erangel remains PUBG Mobile’s most iconic battleground, the 8×8 km island where it all started. Whether you’re pushing rank or perfecting your landing spots, understanding Erangel’s layout separates winners from lobby-warmers.
This guide breaks down every major location, loot tier, rotation path, and strategic position you need to dominate the original map.
What Makes Erangel Special
Erangel is PUBG Mobile’s flagship map, a balanced mix of urban warfare, open fields, and tactical positioning. Unlike newer PUBG Mobile maps, Erangel demands strong fundamentals: smart rotations, zone reads, and consistent aim.
The map features diverse terrain that rewards different playstyles. Dense cities like Pochinki suit aggressive players, while edge compounds favor patient looters who rotate early.
Key stats:
- Size: 8×8 km
- Player count: 100 (Classic mode)
- Terrain: Mixed urban and rural
- Vehicle spawns: High density
Major Hot Drop Locations
Pochinki
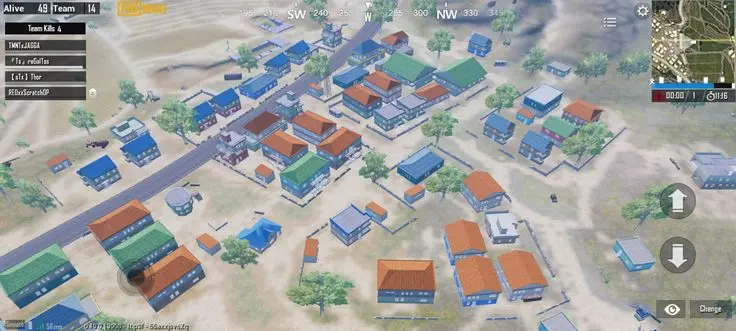
Pochinki sits dead center on the Erangel map and delivers non-stop action. This cluster of two-story buildings attracts 15-25 players every match.
Loot quality: High
Risk level: Extreme
Best for: Aggressive players farming kills
Land on rooftops to grab weapons fast, then push interior fights. The central church and three-story apartments offer the best loot density. Expect third-parties from every angle, survivors usually leave with 5+ kills and full level-2 gear.
School
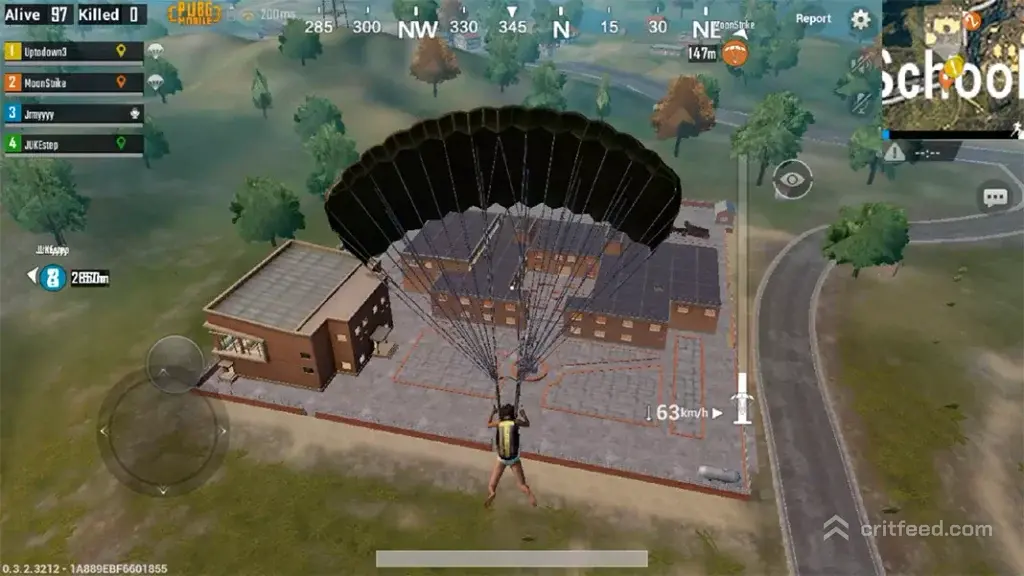
The three-story school complex north of Pochinki is Erangel’s most contested building. Narrow hallways and multiple entry points create intense close-quarters combat.
Loot quality: High
Risk level: Extreme
Best for: CQC specialists
Drop on the roof and fight downward through floors. The top-floor classrooms spawn rifles and SMGs consistently. Most squads wipe here within 90 seconds, survivors control mid-map rotations.
Military Base
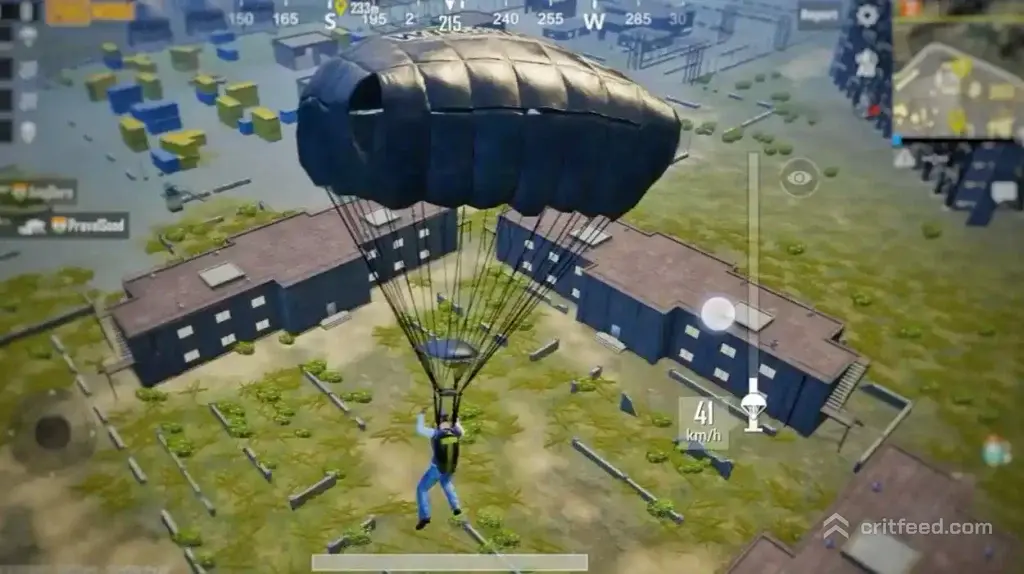
Military Base spans the southern island and offers the best loot on the PUBG Mobile Erangel map. The three barracks, two warehouses, and multiple bunkers guarantee level-3 gear and scoped ARs.
Loot quality: Maximum
Risk level: High
Best for: Squads prioritizing loadout over kills
The drawback: you’re stuck on an island. Bridge campers and late zones force difficult rotations. Secure a vehicle before the first circle closes or you’ll swim to your death.
Georgopol
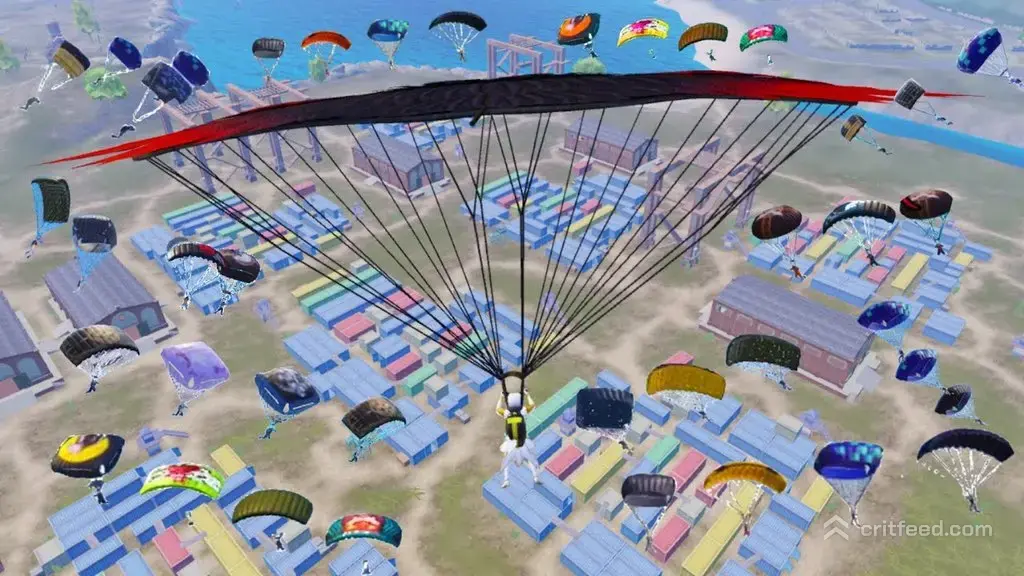
This port city sprawls across the northwest corner with shipping containers, warehouses, and apartment blocks. Georgopol splits into two distinct zones, containers to the west, buildings to the east.
Loot quality: High
Risk level: Medium-High
Best for: Mid-tier players building confidence
Container maze fights reward positioning over raw aim. The apartments offer safer looting with consistent level-2 gear spawns. A central location makes Georgopol strong for any zone.
Mid-Tier Loot Locations
Rozhok
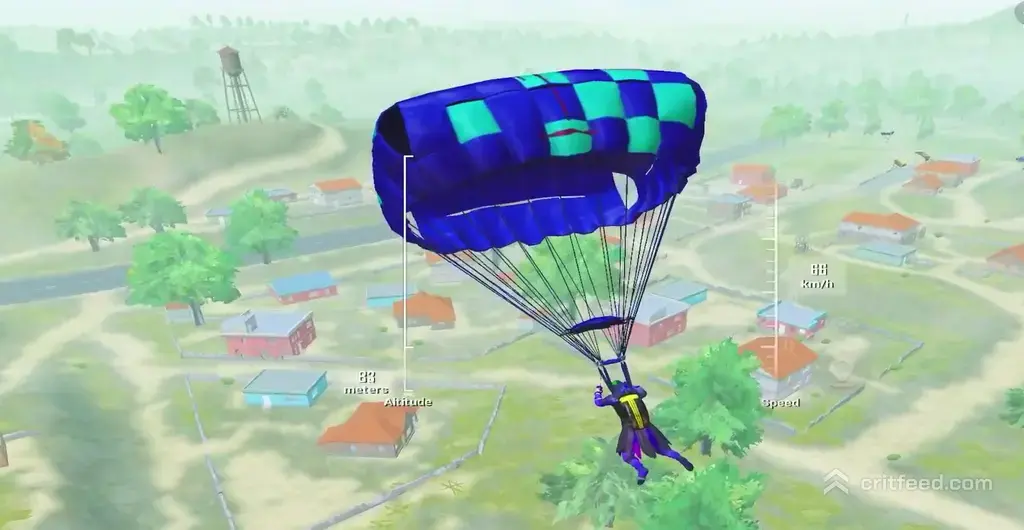
This small town between Pochinki and School provides reliable loot without guaranteed wipes. Five or six squads typically land here.
The single-story houses offer quick loot paths. Clear your building, grab a vehicle from the road spawns, and rotate before third zone. Rozhok suits players practicing PUBG Mobile fundamentals without hot-drop chaos.
Yasnaya Polyana
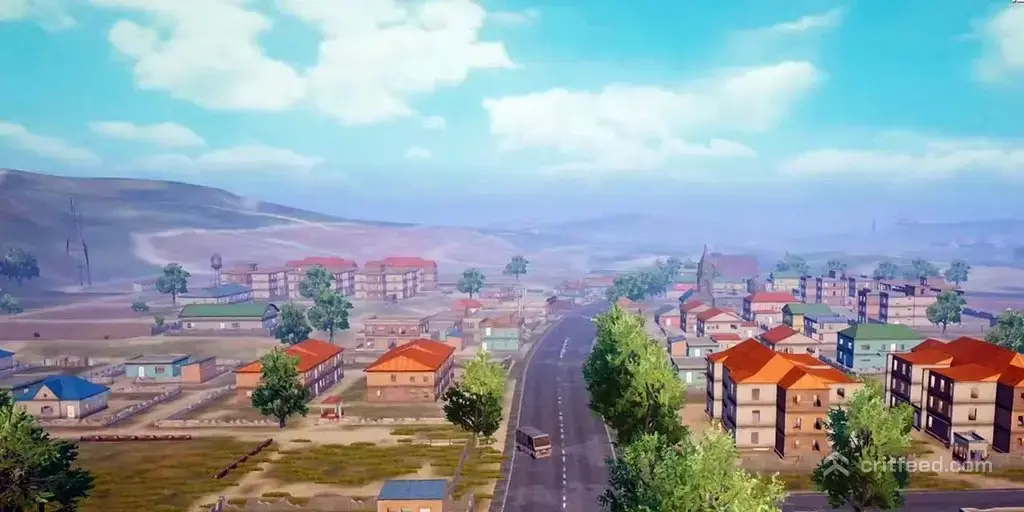
Yasnaya stretches across the eastern plateau, the longest town on Erangel. Loot density is moderate but spread thin across two dozen buildings.
Strengths:
- Low early-game pressure
- Multiple vehicle spawns
- Good zone coverage
Weaknesses:
- Long looting time
- Vulnerable to third-parties
- Open rotation paths
Lipovka
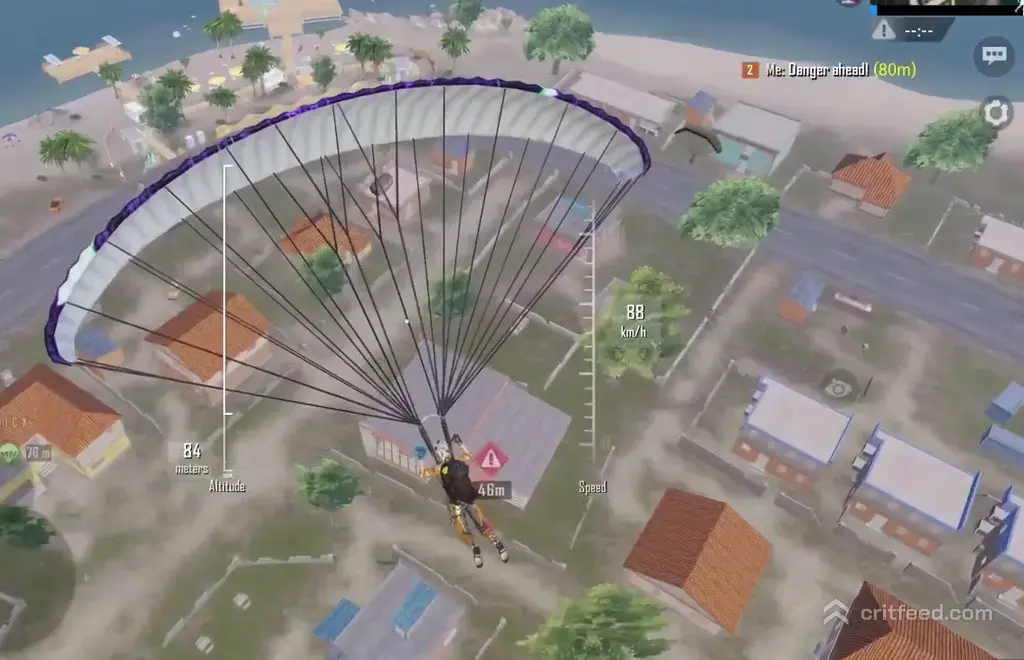
This agricultural compound in the southeast corner features warehouses and farm buildings. Lipovka flies under the radar, most players ignore it for flashier drops.
You’ll leave with level-2 gear minimum and zero contest 70% of matches. The nearby garage compounds provide backup loot and vehicles for Military Base rotations.
Strategic Compound Locations
Mansion
The two-story mansion northwest of Military Base spawns premium loot in a single building. One squad can loot completely in under a minute.
The elevated position overlooks roads from Mylta and Primorsk. Third-party arriving squads or camp the second-floor balconies. Mansion suits trios and squads running tight compositions.
Mylta Power
This industrial complex southeast of Mylta features three massive cooling towers and surrounding buildings. Loot quality rivals Military Base with fraction of the risk.
The towers provide vertical sightlines across southern rotations. Position one player on high ground while teammates loot. Vehicle spawns dot the parking lots, secure wheels early.
Ruins
These stone structures northwest of Stalber offer minimal loot but maximum positioning. The elevated ruins overlook Georgopol, Stalber, and the Severny approach.
Skip Ruins early-game. Return mid-match to gatekeep rotations or claim free circle. The stone walls stop vehicle pushes cold.
Rotation Strategies by Zone
First Circle Rotations
Early rotations dictate your match outcome. Check the circle the moment you finish looting.
If you’re outside:
- Grab the nearest vehicle immediately
- Avoid main roads, take field paths
- Enter circle at compound cover, never open fields
If you’re centered:
- Hold your compound
- Watch common rotation paths
- Let edge teams fight, then third-party survivors
Bridge Camping
Bridges connecting Military Base island to mainland become kill zones. Squads park vehicles, prone behind railings, and farm desperate crossings.
Counter bridge camps:
- Swim if circle allows (125m+ takes 2+ minutes)
- Push bridges in vehicles at full speed, weaving
- Smoke the entire bridge width and walk
Most players die to bridge camps. Experienced players avoid the situation entirely with early rotations.
Final Circle Tactics
Endgame Erangel zones favor positioning over gunfights. The final circles typically land on open fields or compounds.
Compound advantage:
Hard cover beats everything. If final zone contains buildings, claim them at 4th circle minimum. Late pushes against fortified squads fail.
Open field zones:
Go prone in depressions, even 30cm elevation matters. Use smokes aggressively. Track remaining squad count and force them to push you.
Vehicle Spawn Locations
Vehicles spawn at fixed locations with percentage-based rates. Key spawn clusters:
| Location | Vehicle Type | Spawn Rate |
|---|---|---|
| Georgopol road intersections | UAZ, Dacia | 80% |
| Pochinki outskirts | Motorcycle, Buggy | 65% |
| Military Base garages | UAZ, Dacia | 90% |
| Yasnaya main road | All types | 70% |
| Mylta warehouse lots | UAZ, Motorcycle | 75% |
Always spot vehicle spawns during your initial drop. Mark them for squadmates. A vehicle 200m away might as well not exist once zone forces movement.
Loot Distribution Guide
Understanding Erangel’s loot tiers helps you choose drops based on your rank push goals.
High-Tier Zones
- Military Base
- School
- Pochinki
- Georgopol containers
- Mylta Power
Expect ARs with scopes, level-2 gear minimum, and multiple throwables. Competition reflects reward, prepare for immediate fights.
Medium-Tier Zones
- Rozhok
- Yasnaya Polyana
- Lipovka
- Shelter
- Prison
Reliable basic loadouts, SMG or AR, level-1 gear, limited meds. You’ll upgrade through mid-game fights or compound rotations.
Low-Tier Zones
- Random compounds
- Farmhouses
- Gatka
- Kameshki
Pistols and shotguns dominate. Only drop here if you’re practicing specific PUBG Mobile techniques or running challenges.
Common Mistakes to Avoid
Landing too hot for your skill: Pochinki and School demand elite CQC and phone performance. If you’re dropping below 30fps during chaotic fights, choose Rozhok or Yasnaya to build skills.
Ignoring vehicle spawns: Every death to zone could’ve been prevented. Always know your nearest wheel spawn before you start looting.
Fighting outside zone: The blue zone isn’t cover. If you’re caught outside, RUN. That squad shooting you is making the same mistake, whoever ignores the fight survives.
Looting too long: You don’t need perfect loadout. Grab an AR, 120 rounds, meds, and move. Most players die looting when they should rotate.
Underestimating sound: Erangel’s open fields carry gunfire for 500m+. Every shot you fire announces your position. Suppressors aren’t optional in final circles.
Map-Specific Settings
Erangel’s mixed terrain demands balanced settings configuration. Adjust your sensitivity for both close-range building fights and long-range field engagements.
Recommended adjustments:
- Keep 4x sensitivity higher, lots of mid-range field fighting
- Enable peek and fire, essential for compound holds
- Adjust graphics for stable 60fps minimum (battles happen anywhere)
Unlike smaller maps where you can specialize CQC, Erangel requires full versatility. Your loadout needs to handle 5m hallways and 200m field fights.
Why Erangel Still Matters
PUBG Mobile has added Sanhok, Vikendi, Livik, and multiple arcade variants since launch. But Erangel remains the competitive standard, PMGC matches and esports tournaments prioritize this map for its balanced gameplay.
The 8×8 format teaches patience, rotation timing, and positioning fundamentals that carry across all modes. Master Erangel and you’ll dominate smaller maps through superior game sense.
New players benefit most from Erangel’s straightforward design. There are no gimmicks, weather tricks, or map-specific mechanics, just 100 players, shrinking zones, and tactical decisions.
Conclusion
The PUBG Mobile Erangel map rewards preparation over improvisation. Learn your landing zones, memorize vehicle spawns, and practice rotations until they’re automatic. Hot-drop Pochinki to sharpen aim, but rotate smart compounds to climb ranks.
Whether you’re farming kills at School or playing edge for Ace tier, Erangel’s eight square kilometers offer something for every playstyle. The map that started battle royale gaming still delivers the purest tactical experience available on mobile.
Now drop in, stake your claim, and earn that chicken dinner.