
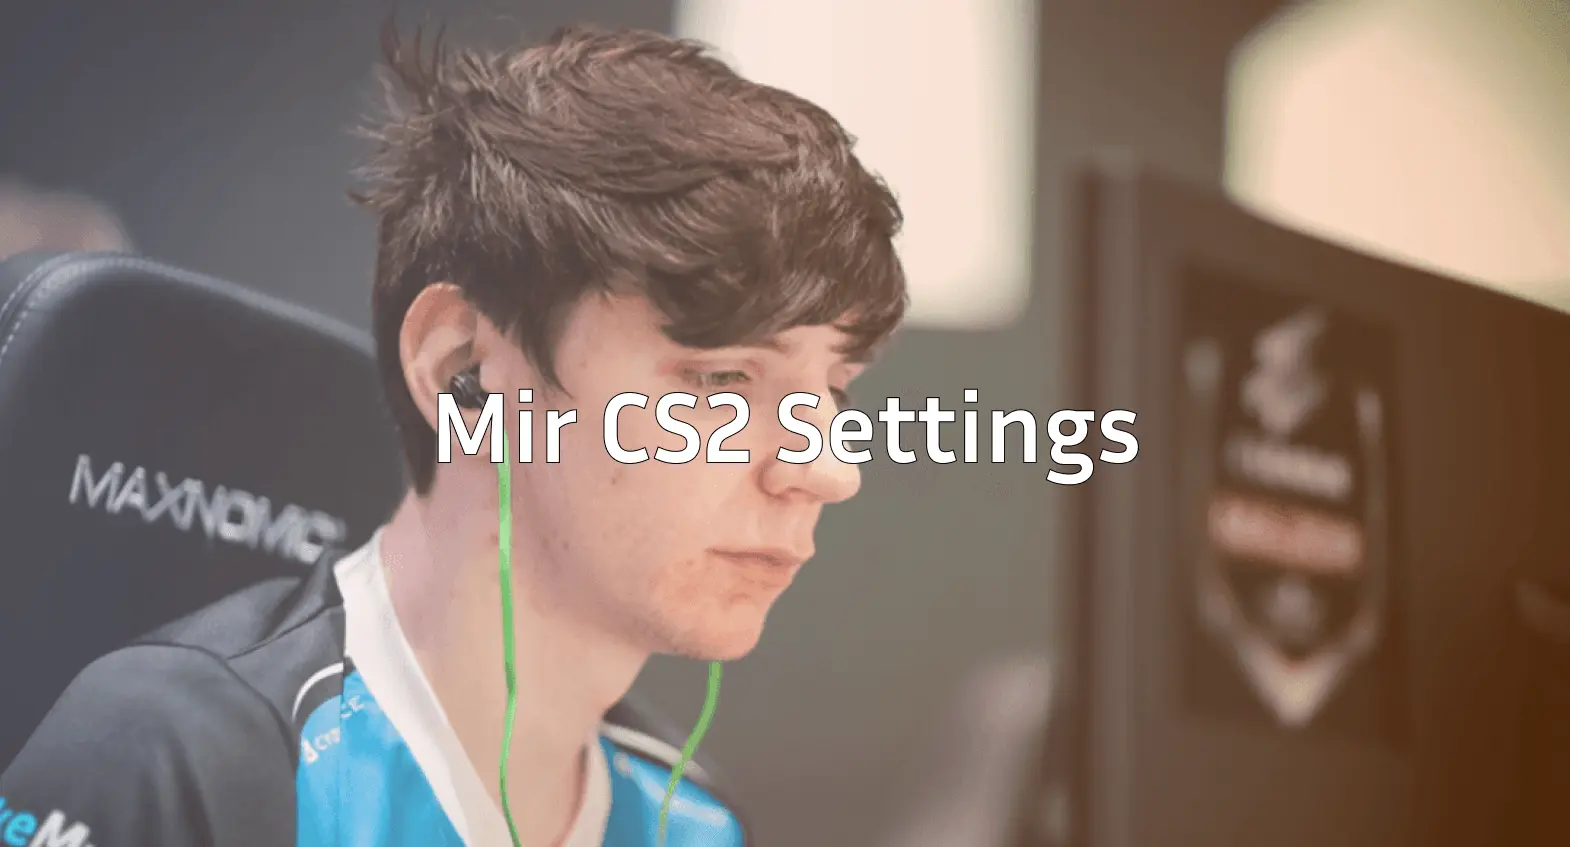
Mir has established himself as one of the most electrifying AWPers in professional Counter-Strike. If you want to replicate the mir CS2 setup that powers Team Spirit’s sniper, you’re in the right place.
This guide breaks down his complete configuration from mouse sensitivity to crosshair settings so you can test his pro-level setup in your own matches.
Who Is Mir?
Mir, born Nikolay Bityukov, is a Russian professional player known for his aggressive AWPing style and clutch potential. He’s been a cornerstone of Team Spirit’s roster, helping them compete at the highest level of CS2 esports.
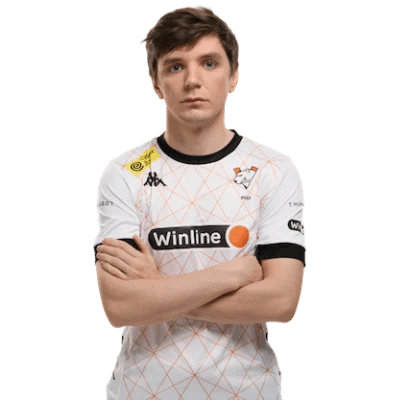
His playstyle combines precise flick shots with smart positioning, making his settings worth studying for any aspiring sniper main.
Mir’s Mouse Settings
Mouse settings directly impact your aim consistency. Mir uses a relatively moderate sensitivity that balances quick flicks with precise micro-adjustments.
| Setting | Value |
|---|---|
| DPI | 400 |
| In-Game Sensitivity | 2.0 |
| eDPI | 800 |
| Zoom Sensitivity | 1.0 |
| Hz (Polling Rate) | 1000 |
| Windows Sensitivity | 6 |
| Raw Input | On |
His eDPI of 800 sits in the medium range for professional players. This allows comfortable 180-degree turns while maintaining accuracy for those crucial AWP shots.
How to Apply These Settings
Open your console and enter:
sensitivity 2.0zoom_sensitivity_ratio 1.0
m_rawinput 1
Mir’s Crosshair Settings
A clean crosshair helps with target acquisition. Mir uses a simple, static crosshair that doesn’t distract during firefights.
| Setting | Value |
|---|---|
| Style | 4 (Classic Static) |
| Size | 2 |
| Gap | -2 |
| Thickness | 1 |
| Outline | No |
| Color | Green (1) |
| Dot | No |
Crosshair Code
Copy and paste this into your console:
cl_crosshair_drawoutline 0; cl_crosshair_dynamic_maxdist_splitratio 0.35; cl_crosshair_dynamic_splitalpha_innermod 1; cl_crosshair_dynamic_splitalpha_outermod 0.5; cl_crosshair_dynamic_splitdist 7; cl_crosshair_outlinethickness 1; cl_crosshair_sniper_width 1; cl_crosshair_t 0; cl_crosshairalpha 255; cl_crosshaircolor 1; cl_crosshaircolor_b 0; cl_crosshaircolor_g 255; cl_crosshaircolor_r 0; cl_crosshairdot 0; cl_crosshairgap -2; cl_crosshairsize 2; cl_crosshairstyle 4; cl_crosshairthickness 1; cl_crosshairusealpha 1The small, tight crosshair works especially well for AWP players who need pinpoint accuracy when quick-scoping.
Mir’s Video Settings
Mir prioritizes performance over visuals, which is standard among professionals. Higher framerates mean smoother gameplay and faster reaction times.
| Setting | Value |
|---|---|
| Resolution | 1280×960 |
| Aspect Ratio | 4:3 |
| Scaling Mode | Stretched |
| Display Mode | Fullscreen |
Graphics Settings
| Setting | Value |
|---|---|
| Global Shadow Quality | Medium |
| Model/Texture Detail | Low |
| Texture Filtering Mode | Bilinear |
| Shader Detail | Low |
| Particle Detail | Low |
| Ambient Occlusion | Disabled |
| High Dynamic Range | Performance |
| FidelityFX Super Resolution | Disabled |
The 4:3 stretched resolution makes player models appear wider, which many pros find easier to track and hit. If you’re new to this aspect ratio, check out our guide on cs2 launch options to configure it properly.
Mir’s Viewmodel Settings
Viewmodel positioning affects how much screen space your weapon takes up. Mir uses a setup that maximizes visibility.
| Setting | Value |
|---|---|
| Viewmodel FOV | 68 |
| Viewmodel Offset X | 2.5 |
| Viewmodel Offset Y | 0 |
| Viewmodel Offset Z | -1.5 |
| Viewmodel Presetpos | 3 |
Viewmodel Commands
viewmodel_fov 68viewmodel_offset_x 2.5
viewmodel_offset_y 0
viewmodel_offset_z -1.5
viewmodel_presetpos 3
cl_bob_lower_amt 5
cl_bobamt_lat 0.1
cl_bobamt_vert 0.1
Mir’s Keybinds
Efficient keybinds let you focus on gameplay instead of fumbling for controls. Here are some of Mir’s notable bindings:
| Action | Key |
|---|---|
| Jump | Space / Mouse Wheel Down |
| Crouch | Ctrl |
| Walk | Shift |
| Primary Weapon | 1 |
| Secondary Weapon | 2 |
| Knife | 3 |
| Grenades | 4 |
For more advanced binding setups, including jump-throw binds, see our cs2 binds guide.
Mir’s Gear Setup
Professional players invest in quality peripherals. Here’s what Mir uses:
| Gear Type | Product |
|---|---|
| Mouse | Logitech G Pro X Superlight |
| Mousepad | Logitech G640 |
| Keyboard | Logitech G Pro X |
| Monitor | BenQ ZOWIE XL2546K (240Hz) |
| Headset | Logitech G Pro X |
The G Pro X Superlight is popular among AWPers for its lightweight design (63g), allowing effortless flick shots without fatigue during long matches.
Tips for Using Mir’s Settings
Before copying these settings exactly, consider these points:
- Sensitivity is personal – Mir’s 800 eDPI works for him, but you might need higher or lower depending on your mousepad size and playstyle
- Give stretched 4:3 time – It feels strange initially but many players adapt within a week
- Practice your flicks – Use cs2 practice commands to warm up with these new settings
- Test in casual first – Don’t jump straight into competitive with unfamiliar configurations
How Mir’s Style Compares to Other Pros
Mir’s settings share similarities with other top players. His eDPI of 800 is close to the professional average, and his preference for 4:3 stretched is common among CIS region players.
If you’re exploring different pro configurations, you might also want to check out NiKo’s CS2 settings or Shroud’s CS2 settings for comparison.
Final Thoughts
The mir CS2 configuration balances precision with flexibility, making it suitable for players who favor the AWP but still need to rifle effectively. His moderate sensitivity and clean crosshair provide a solid foundation for any skill level.
Remember that settings are just one piece of the puzzle. Consistent practice, game sense, and positioning matter more than any config file.