
Michael “Grim” Wince has established himself as one of North America’s most consistent riflers. If you want to copy Grim CS2 settings to sharpen your aim and gameplay, you’re in the right place.
We’ll break down his complete configuration, including sensitivity, crosshair, video settings, and the gear he uses to compete at the highest level.
Who Is Grim?
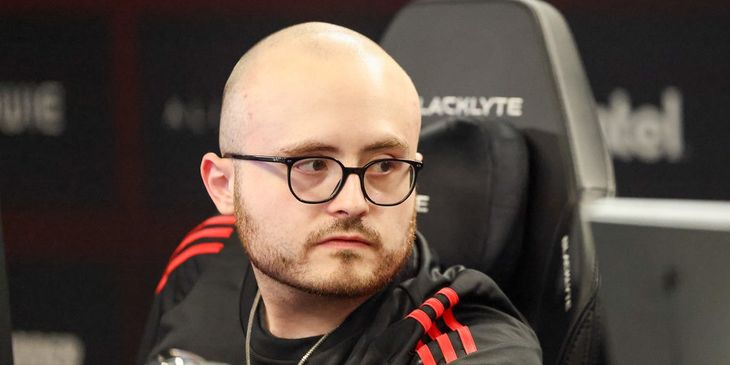
Grim is an American professional CS2 player known for his aggressive rifling style and exceptional utility usage. He rose to prominence playing for Team Liquid, where he became a key piece of the roster.

His playstyle emphasizes:
- Fast-paced entries and aggressive peeks
- Strong AK-47 and M4A4 mechanics
- Creative utility combinations
- High-impact clutch performances
Grim’s settings reflect his need for quick target acquisition and smooth mouse movement during intense firefights.
Grim’s Mouse Settings
Grim uses relatively low sensitivity, which is standard among professional players for consistent aim.
| Setting | Value |
|---|---|
| DPI | 400 |
| In-Game Sensitivity | 2.0 |
| eDPI | 800 |
| Zoom Sensitivity | 1.0 |
| Hz (Polling Rate) | 1000 |
| Windows Sensitivity | 6 |
| Raw Input | On |
| Mouse Acceleration | Off |
His 800 eDPI sits in the mid-range for professional players. This allows for precise micro-adjustments while still enabling quick 180-degree turns when needed.
Why This Sensitivity Works
An eDPI of 800 provides a solid balance between:
- Precision for holding angles and tapping heads
- Speed for clearing multiple angles quickly
- Consistency across different scenarios
If you’re new to lower sensitivities, check our guide on cs2 binds to optimize your movement while adjusting.
Grim’s Crosshair Settings
Grim uses a clean, static crosshair that provides clear visibility without cluttering the screen.
| Setting | Value |
|---|---|
| Style | 4 |
| Color | Green (1) |
| Size | 2 |
| Thickness | 0 |
| Gap | -3 |
| Outline | No |
| Dot | No |
| Alpha | 255 |
Crosshair Code
Copy and paste this into your console:
cl_crosshairsize 2; cl_crosshairgap -3; cl_crosshairthickness 0; cl_crosshairdot 0; cl_crosshaircolor 1; cl_crosshair_drawoutline 0; cl_crosshairstyle 4; cl_crosshairalpha 255This creates a tight, small crosshair that doesn’t obscure enemies at long range—perfect for dueling on maps like Dust II or holding Mid on Mirage.
Grim’s Video Settings
Professional players prioritize frame rate and visibility over visual fidelity. Grim’s settings follow this philosophy.
| Setting | Value |
|---|---|
| Resolution | 1280×960 |
| Aspect Ratio | 4:3 |
| Scaling Mode | Stretched |
| Display Mode | Fullscreen |
Graphics Settings
| Setting | Value |
|---|---|
| Global Shadow Quality | Medium |
| Model/Texture Detail | Low |
| Texture Filtering Mode | Bilinear |
| Shader Detail | Low |
| Particle Detail | Low |
| Ambient Occlusion | Disabled |
| High Dynamic Range | Performance |
| FidelityFX Super Resolution | Disabled |
| NVIDIA Reflex Low Latency | Enabled |
Why 4:3 Stretched?
Many pros, including Grim, use 4:3 stretched because:
- Player models appear wider and easier to hit
- Higher FPS due to lower resolution
- Less visual clutter on screen
- Familiar feel from CS:GO and 1.6 days
The tradeoff is reduced horizontal field of view, meaning enemies at the edges of your screen are harder to spot. This suits Grim’s aggressive, crosshair-focused playstyle.
For optimal performance, review our cs2 launch options guide to maximize your frame rate.
Grim’s Viewmodel Settings
Grim uses a viewmodel that keeps his weapon positioned out of the way while maintaining good visual feedback.
viewmodel_fov 68; viewmodel_offset_x 2.5; viewmodel_offset_y 0; viewmodel_offset_z -1.5; viewmodel_presetpos 3This configuration pushes the weapon model slightly to the right and down, maximizing screen real estate for spotting enemies.
Grim’s Gear
Professional performance requires professional equipment. Here’s what Grim uses:
| Category | Product |
|---|---|
| Mouse | Logitech G Pro X Superlight |
| Mousepad | Logitech G640 |
| Keyboard | Logitech G Pro X |
| Monitor | BenQ ZOWIE XL2546K (240Hz) |
| Headset | Logitech G Pro X |
The G Pro X Superlight is one of the most popular mice among CS2 professionals due to its lightweight design (63g) and flawless sensor.
How to Apply Grim’s Config
Follow these steps to implement Grim’s settings:
- Locate your config folder using our cs2 config location guide
- Back up your current settings before making changes
- Copy the crosshair code into your console or autoexec
- Adjust video settings through the in-game menu
- Set your mouse DPI to 400 in your mouse software
- Change in-game sensitivity to 2.0
Practice Your New Settings
After applying Grim’s config, spend time in practice mode before jumping into competitive matches. Use cs2 practice commands to set up aim training scenarios.
Should You Copy Pro Settings?
Grim’s settings work for his playstyle, but they might not suit everyone. Consider these factors:
Copy his settings if you:
- Prefer aggressive, entry-fragging roles
- Have a large mousepad for low sensitivity
- Want a clean, minimal crosshair
- Can maintain 200+ FPS consistently
Adjust his settings if you:
- Play more passive, AWP-focused roles
- Have limited desk space
- Prefer higher sensitivity for quick flicks
- Struggle with 4:3 stretched visibility
The best approach is using pro settings as a starting point, then making small adjustments based on your comfort level.
Conclusion
Grim’s CS2 settings prioritize precision, performance, and clean visuals—the hallmarks of a professional configuration. His 800 eDPI, tight crosshair, and stretched resolution create an optimized setup for aggressive rifling.
Start with his exact settings, then fine-tune based on your preferences. Remember that consistency matters more than copying pros exactly.