
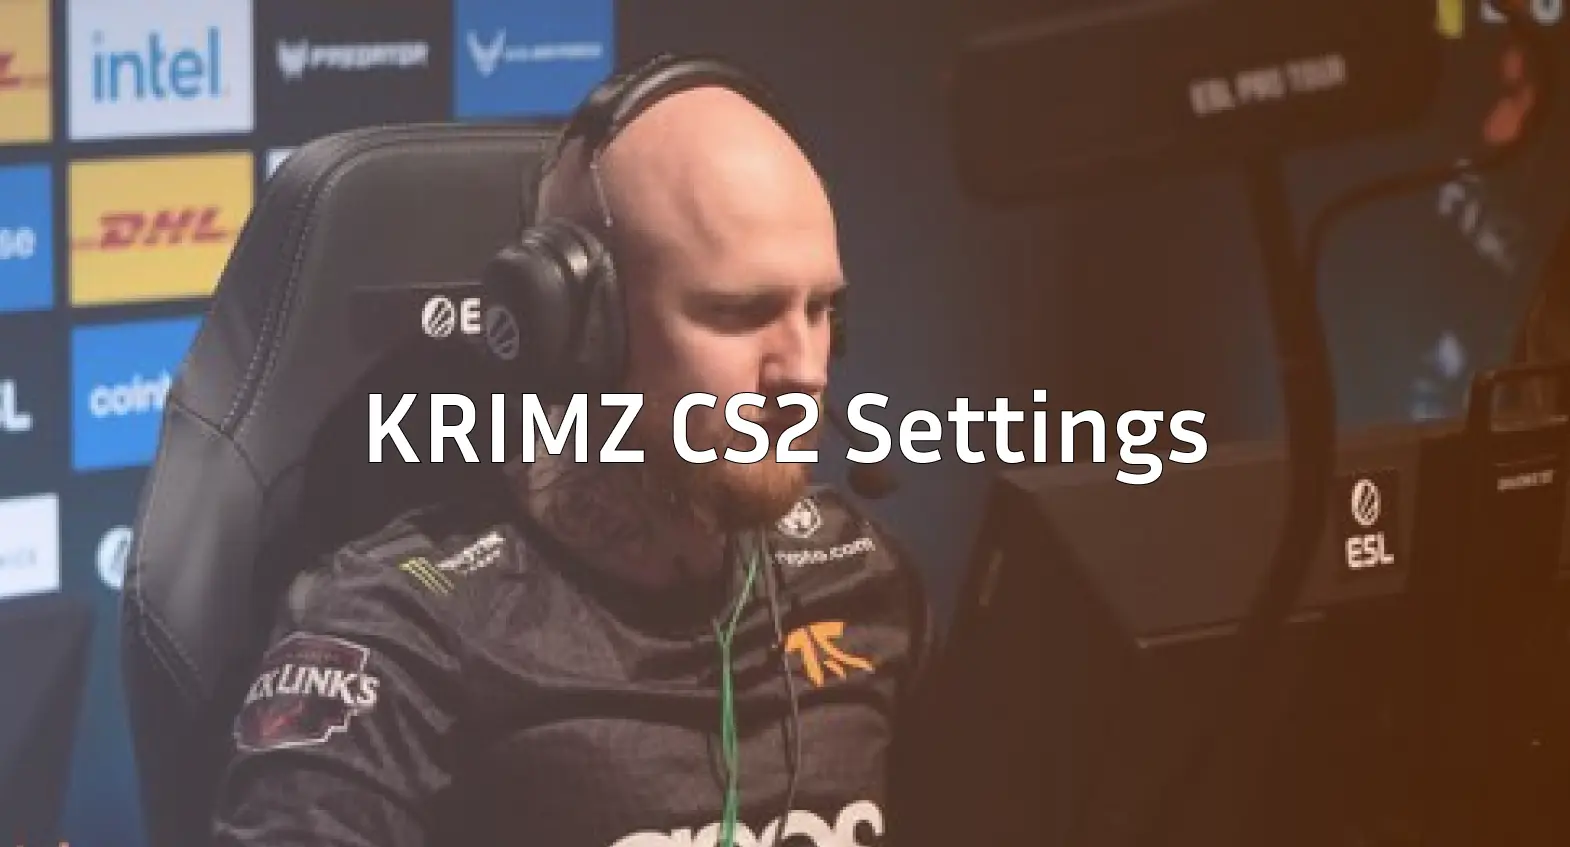
Freddy “KRIMZ” Johansson stands as one of Counter-Strike’s most decorated players, known for his rock-solid anchor play and clutch performances under pressure. If you’re searching for KRIMZ CS2 settings to elevate your game, you’ve found the complete breakdown.
This guide covers his mouse settings, crosshair code, viewmodel, video configuration, and keybinds everything you need to replicate the Swedish veteran’s setup.
Who Is KRIMZ?
KRIMZ built his legacy as a cornerstone of Fnatic during their dominant era, winning multiple Major championships. His playstyle emphasizes consistency over flashiness he rarely whiffs, holds angles with patience, and delivers when it matters most.
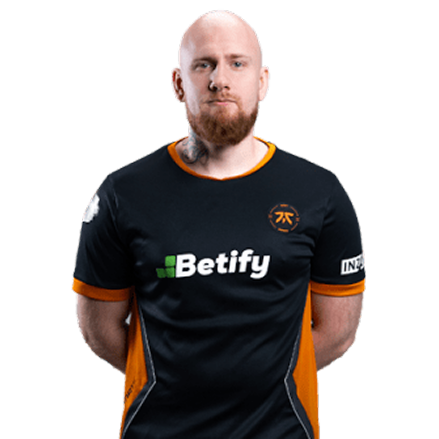
His settings reflect this philosophy: clean, practical, and optimized for precision rather than gimmicks.
KRIMZ Mouse Settings
Mouse settings directly impact your aim, and KRIMZ uses a moderate sensitivity that balances precision with mobility.
| Setting | Value |
|---|---|
| DPI | 400 |
| In-Game Sensitivity | 2.0 |
| eDPI | 800 |
| Zoom Sensitivity | 1.0 |
| Hz (Polling Rate) | 1000 |
| Windows Sensitivity | 6 |
| Raw Input | On |
| Mouse Acceleration | Off |
Key Takeaway: An eDPI of 800 sits in the medium range for professional players. It allows for precise micro-adjustments while still enabling 180-degree turns without lifting your mouse excessively.
If you’re using KRIMZ’s sensitivity with an AWP, maintaining 1.0 zoom sensitivity keeps your muscle memory consistent between scoped and unscoped play.
KRIMZ Crosshair Settings
KRIMZ runs a small, static crosshair that doesn’t obstruct his view during firefights. Here’s the complete breakdown:
| Setting | Value |
|---|---|
| Style | 4 (Static) |
| Size | 2 |
| Thickness | 0 |
| Gap | -3 |
| Outline | No |
| Color | Green (1) |
| Dot | No |
Crosshair Code
Copy and paste this into your console:
cl_crosshair_drawoutline 0; cl_crosshair_dynamic_maxdist_splitratio 0.35; cl_crosshair_dynamic_splitalpha_innermod 1; cl_crosshair_dynamic_splitalpha_outermod 0.5; cl_crosshair_dynamic_splitdist 7; cl_crosshair_outlinethickness 1; cl_crosshair_sniper_width 1; cl_crosshair_t 0; cl_crosshairalpha 255; cl_crosshaircolor 1; cl_crosshaircolor_b 50; cl_crosshaircolor_g 250; cl_crosshaircolor_r 50; cl_crosshairdot 0; cl_crosshairgap -3; cl_crosshairgap_useweaponvalue 0; cl_crosshairsize 2; cl_crosshairstyle 4; cl_crosshairthickness 0; cl_crosshairusealpha 1The tight gap and small size create a precise aiming point without cluttering your screen—ideal for holding angles on maps like Inferno or Mirage.
KRIMZ Video Settings
KRIMZ prioritizes performance and visibility over visual fidelity. High framerates mean smoother input response, which matters more than pretty graphics in competitive play.
| Setting | Value |
|---|---|
| Resolution | 1280×960 |
| Aspect Ratio | 4:3 |
| Scaling Mode | Stretched |
| Display Mode | Fullscreen |
Graphics Settings
| Setting | Value |
|---|---|
| Global Shadow Quality | Medium |
| Model/Texture Detail | Low |
| Texture Filtering Mode | Bilinear |
| Shader Detail | Low |
| Particle Detail | Low |
| Ambient Occlusion | Disabled |
| High Dynamic Range | Performance |
| FidelityFX Super Resolution | Disabled |
| NVIDIA Reflex Low Latency | Enabled |
Why 4:3 Stretched? This resolution makes player models appear wider, potentially easier to hit. Many veteran players like KRIMZ adopted this during CS:GO and carried it into CS2. Check out other pro player settings to compare approaches.
KRIMZ Viewmodel Settings
His viewmodel stays compact and unobtrusive, keeping weapon models from blocking sightlines.
| Setting | Value |
|---|---|
| Viewmodel FOV | 68 |
| Viewmodel Offset X | 2.5 |
| Viewmodel Offset Y | 0 |
| Viewmodel Offset Z | -1.5 |
| Viewmodel Presetpos | 3 |
| Bob | Minimal |
Apply these with:
viewmodel_fov 68; viewmodel_offset_x 2.5; viewmodel_offset_y 0; viewmodel_offset_z -1.5; viewmodel_presetpos 3; cl_bob_lower_amt 5; cl_bobamt_lat 0.1; cl_bobamt_vert 0.1This setup works well whether you’re spraying with an AK-47 or tapping with an M4A1-S.
KRIMZ Keybinds
KRIMZ uses fairly standard binds with a few optimizations for utility usage:
| Action | Key |
|---|---|
| Jump | Space / Mouse Wheel Down |
| Crouch | Ctrl |
| Walk | Shift |
| Use | E |
| Inspect | F |
| Drop | G |
| Flashbang | 4 |
| Smoke | Mouse4 |
| HE Grenade | Mouse5 |
| Molotov | C |
Having grenades bound to accessible keys allows for faster utility deployment without fumbling through the grenade menu. If you want to customize your own setup, our CS2 binds guide covers everything you need.
KRIMZ’s Gear
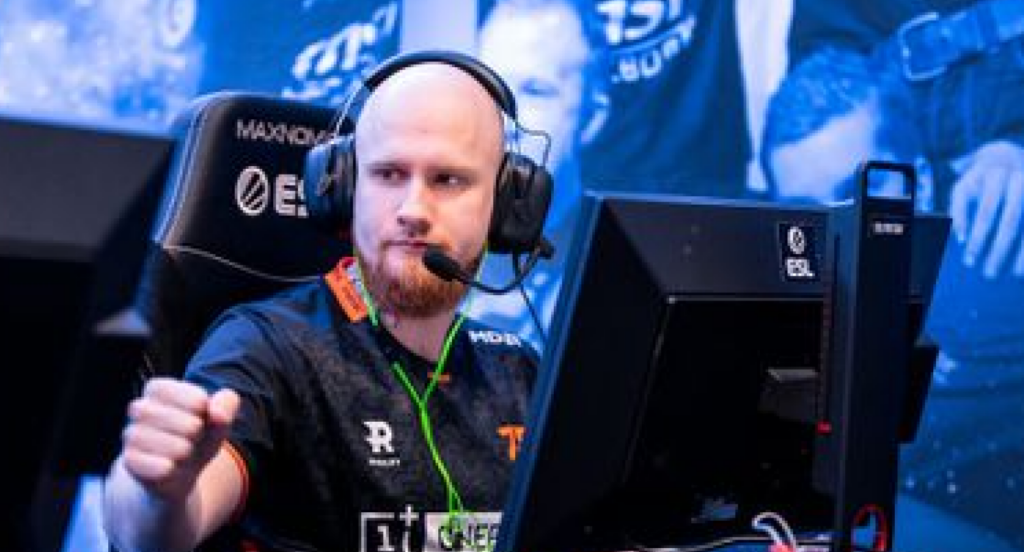
For reference, here’s the equipment KRIMZ has used:
- Mouse: Logitech G Pro X Superlight
- Mousepad: Artisan Hien XL
- Keyboard: Logitech G Pro X
- Monitor: BenQ ZOWIE XL2546K (240Hz)
- Headset: Logitech G Pro X
Tips for Using KRIMZ’s Settings
Copying settings won’t instantly make you play like a Major champion, but here’s how to get the most from this config:
- Give it time. Sensitivity changes need 1-2 weeks of adjustment. Don’t switch back after one bad game.
- Practice your anchoring. KRIMZ excels at holding sites. Load up practice commands and work on crosshair placement at common angles.
- Focus on positioning. His settings support a disciplined playstyle—use them to hold angles, not chase frags.
- Adjust to your hardware. If you can’t maintain 200+ FPS, consider lowering settings further or adjusting resolution.
Should You Copy Pro Settings?
Pro settings provide an excellent starting point, but they’re not magic. KRIMZ’s setup works for his playstyle, muscle memory, and thousands of hours of practice.
Use his config as a foundation, then tweak based on what feels natural. The goal isn’t to clone a pro it’s to find settings that let you perform consistently.
Conclusion
KRIMZ CS2 settings reflect years of competitive refinement: moderate sensitivity, clean crosshair, stretched resolution, and practical keybinds. Whether you’re anchoring B site on Inferno or clutching a 1v2, these settings provide a solid framework.
Copy the crosshair code, test the sensitivity, and give yourself time to adjust.