
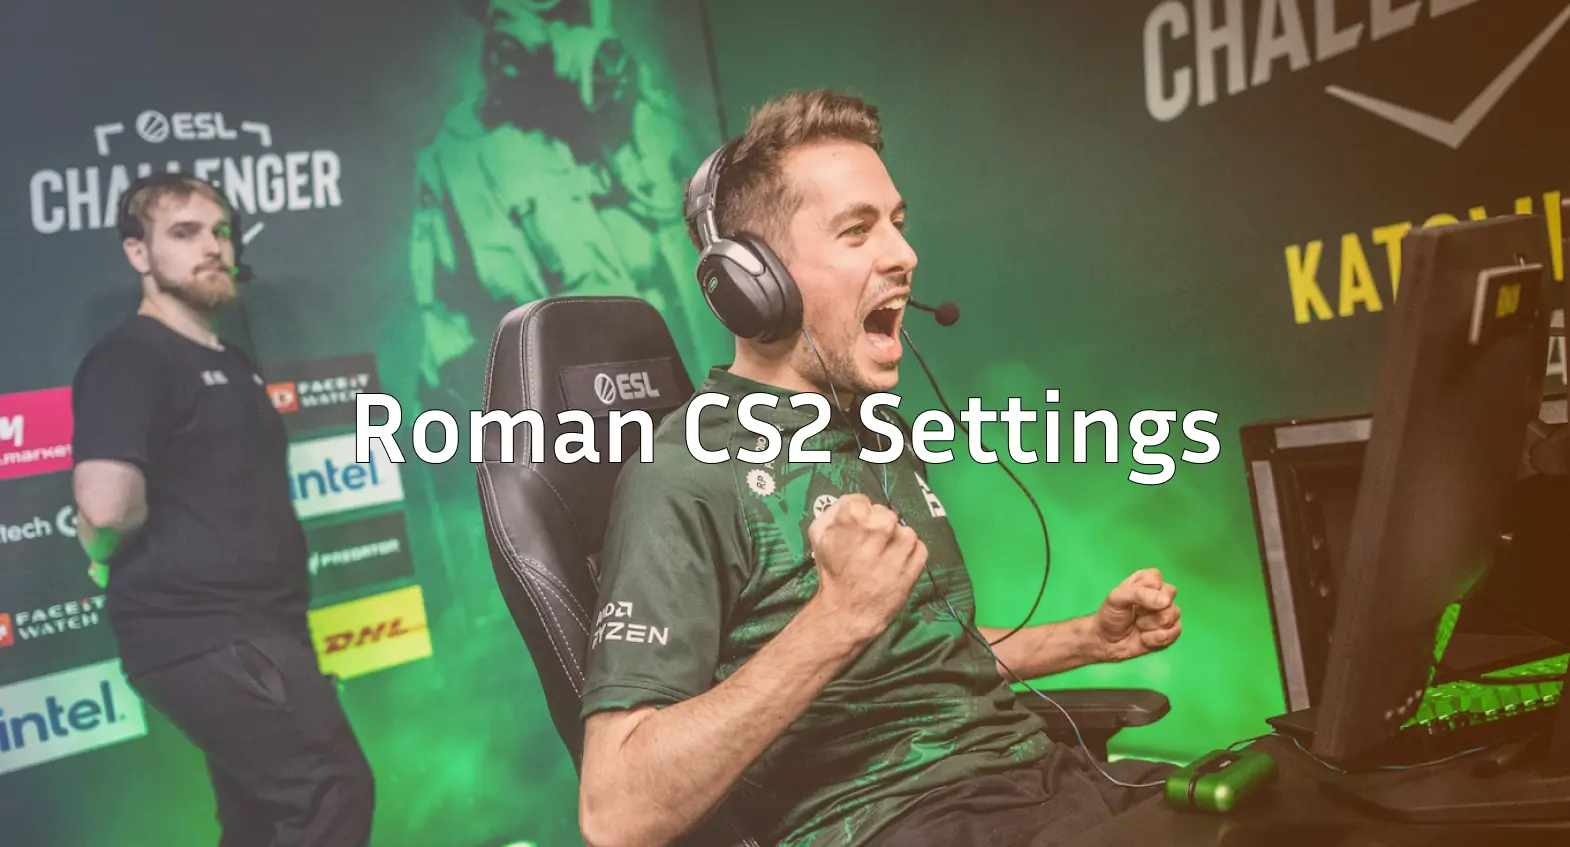
Roman has quickly established himself as one of the most exciting young AWPers in professional Counter-Strike. As Vitality’s primary sniper, his crisp flick shots and aggressive positioning have made him a fan favorite. If you want to replicate Roman CS2 settings to sharpen your own AWP game, this guide covers everything you need.
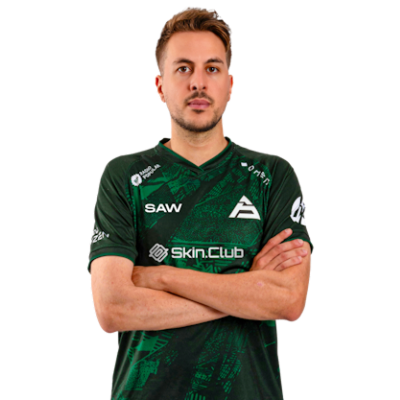
We’ll break down his mouse settings, crosshair, video configuration, and the gear he uses to compete at the highest level.
Roman’s Mouse & Sensitivity Settings
Precision is everything for an AWPer, and Roman’s sensitivity setup reflects that philosophy. His settings prioritize consistent flicks while maintaining enough control for rifle rounds.
| Setting | Value |
|---|---|
| DPI | 800 |
| In-Game Sensitivity | 1.0 |
| eDPI | 800 |
| Zoom Sensitivity | 1.0 |
| Polling Rate | 1000 Hz |
| Windows Sensitivity | 6 |
| Raw Input | On |
An eDPI of 800 sits in the low-to-medium range for professional players. This gives Roman the stability needed for precise AWP shots while still allowing quick 180-degree turns when enemies push from unexpected angles.
If you’re transitioning from higher sensitivity, lower your eDPI gradually over several days. Jumping straight to Roman’s settings can temporarily hurt your muscle memory.
Roman’s Crosshair Settings
Even though the AWP uses a scope, crosshair placement matters during eco rounds and pistol rounds. Roman uses a clean, static crosshair that’s easy to track.
cl_crosshair_drawoutline 0cl_crosshair_dynamic_maxdist_splitratio 0.35
cl_crosshair_dynamic_splitalpha_innermod 1
cl_crosshair_dynamic_splitalpha_outermod 0.5
cl_crosshair_dynamic_splitdist 7
cl_crosshair_outlinethickness 1
cl_crosshair_sniper_width 1
cl_crosshairalpha 255
cl_crosshaircolor 1
cl_crosshaircolor_b 50
cl_crosshaircolor_g 250
cl_crosshaircolor_r 50
cl_crosshairdot 0
cl_crosshairgap -3
cl_crosshairsize 2
cl_crosshairstyle 4
cl_crosshairthickness 0
cl_crosshairusealpha 1
The green color (Color 1) provides excellent visibility on most CS2 maps. His small crosshair size keeps the center of the screen uncluttered, which helps when holding tight angles with the AWP.
Roman’s Video Settings
Professional players prioritize frame rate over visual fidelity. Roman’s video configuration maximizes FPS while maintaining competitive visibility.
| Setting | Value |
|---|---|
| Resolution | 1280×960 |
| Aspect Ratio | 4:3 |
| Scaling Mode | Stretched |
| Display Mode | Fullscreen |
Graphics Settings
| Setting | Value |
|---|---|
| Global Shadow Quality | High |
| Model/Texture Detail | Low |
| Texture Filtering Mode | Bilinear |
| Shader Detail | Low |
| Particle Detail | Low |
| Ambient Occlusion | Disabled |
| High Dynamic Range | Performance |
| FidelityFX Super Resolution | Disabled |
| NVIDIA Reflex Low Latency | Enabled |
The 4:3 stretched resolution makes player models appear wider, which many AWPers prefer for hitting flick shots. Shadows remain on High because they reveal enemy positions around corners—a crucial advantage when holding sites.
Want to experiment with these settings yourself? Check out our guide on CS2 launch options to optimize your game’s startup parameters.
Roman’s Viewmodel Settings
Viewmodel preferences are largely aesthetic, but Roman’s setup keeps the weapon model from obstructing his view during intense firefights.
viewmodel_fov 68viewmodel_offset_x 2.5
viewmodel_offset_y 0
viewmodel_offset_z -1.5
viewmodel_presetpos 3
cl_righthand 1
These settings push the weapon slightly to the right and downward, maximizing screen visibility. If you prefer a different hand orientation, our left hand command guide explains how to switch sides.
Roman’s Gear & Peripherals
Hardware plays a significant role in competitive performance. Here’s what Roman uses:
| Component | Product |
|---|---|
| Mouse | Logitech G Pro X Superlight |
| Mousepad | Zowie G-SR |
| Keyboard | Wooting 60HE |
| Monitor | BenQ ZOWIE XL2546K (240Hz) |
| Headset | HyperX Cloud II |
The G Pro X Superlight weighs only 63 grams, reducing fatigue during long matches. Combined with the control-oriented G-SR mousepad, this setup offers consistent stopping power for precise AWP flicks.
His 240Hz monitor ensures smooth visuals with minimal input lag—essential when milliseconds determine whether you land the opening pick.
Key Binds & Config Tips
Roman uses standard professional binds, but a few optimizations help his gameplay flow:
- Jump bound to scroll wheel for consistent bunny hops
- Quick-switch bind for faster AWP cycling after shots
- Dedicated utility binds for instant smoke and flash access
To set up your own practice environment and test these settings, use our CS2 practice commands guide. You can also learn essential CS2 binds to streamline your gameplay.
How to Apply Roman’s Settings
Follow these steps to implement his configuration:
- Launch CS2 and open the Settings menu
- Navigate to each tab (Mouse, Video, Crosshair) and input the values above
- Copy the crosshair code into your console
- Apply viewmodel commands in console or add them to your autoexec
- Save and restart the game
If you’re unsure where your config files are stored, our CS2 config location guide shows you exactly where to find them.
Final Thoughts
Roman’s CS2 settings balance precision with versatility, making them suitable for players who favor the AWP but still need to perform on rifle rounds. His low eDPI and stretched resolution create ideal conditions for landing those highlight-reel flicks.
Remember that copying pro settings is just a starting point. Spend time in deathmatch and aim trainers to build muscle memory, then adjust sensitivity if something feels off.