
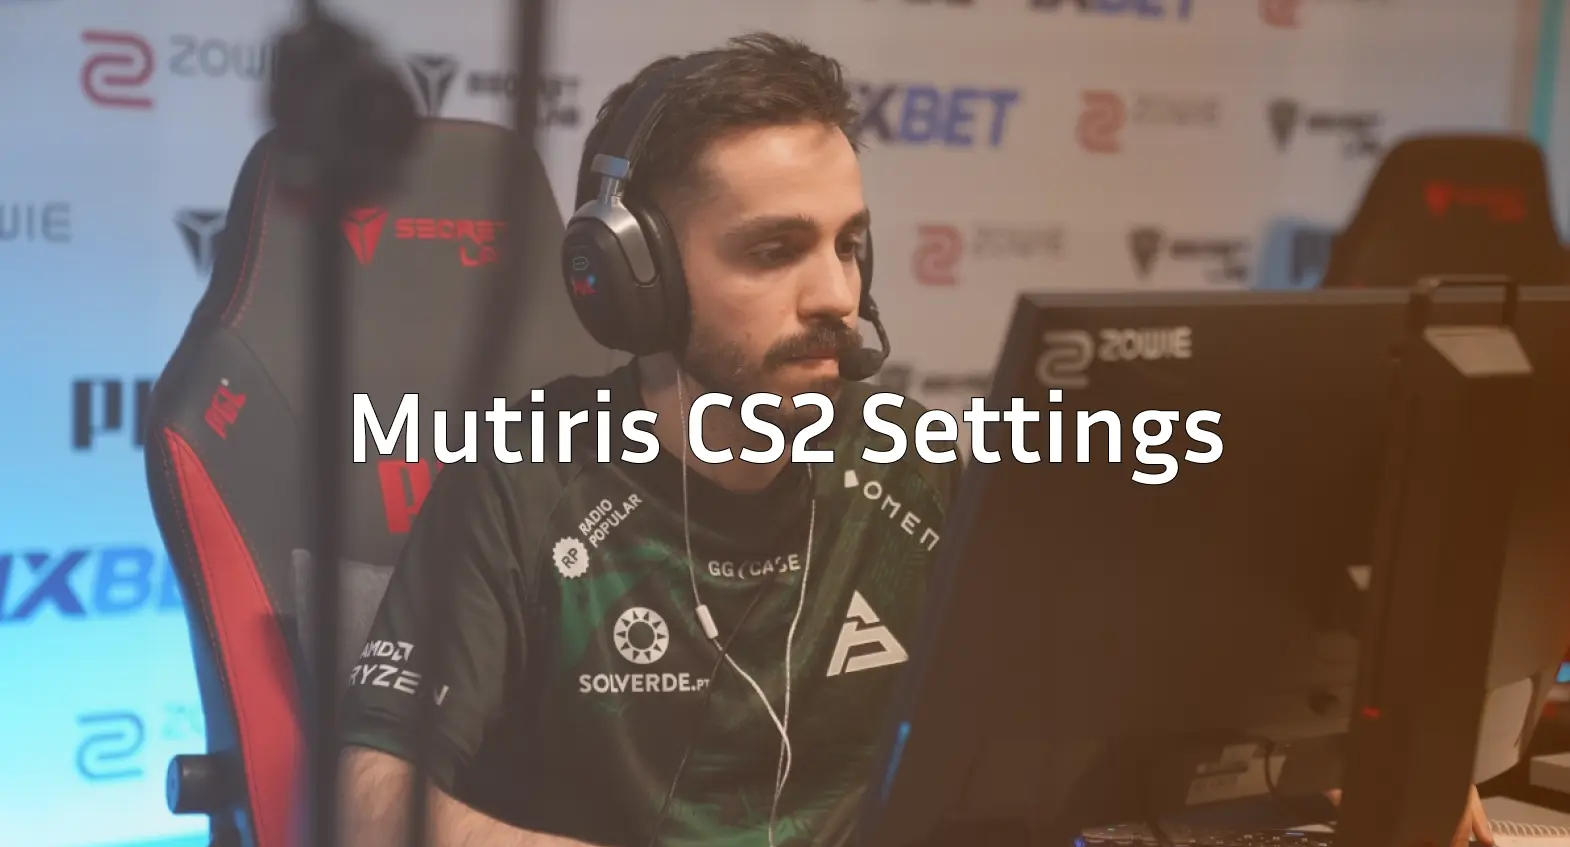
Mutiris has quietly become one of the most consistent riflers in European Counter-Strike. If you want to copy the Mutiris CS2 settings and config, you’re in the right place we’ve compiled his complete setup including crosshair, viewmodel, mouse settings, and keybinds.
The Portuguese player is known for his crisp aim and smart positioning. His settings reflect a clean, no-nonsense approach that prioritizes visibility and precision over flashy aesthetics.
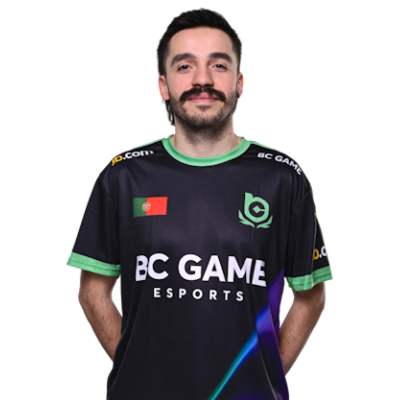
Mutiris Mouse Settings
Mouse settings are the foundation of any pro’s aim. Mutiris runs a relatively moderate sensitivity that balances precision with the ability to make quick flick shots.
| Setting | Value |
|---|---|
| DPI | 800 |
| In-Game Sensitivity | 1.0 |
| eDPI | 800 |
| Zoom Sensitivity | 1.0 |
| Hz (Polling Rate) | 1000 |
| Windows Sensitivity | 6 |
| Raw Input | On |
An eDPI of 800 sits comfortably in the mid-range for professional players. This gives Mutiris enough control for precise AK-47 spray transfers while still allowing comfortable 180-degree turns without lifting his mouse excessively.
If you’re transitioning from a higher sensitivity, drop it gradually over several days rather than making the jump all at once.
Mutiris Crosshair Settings
Mutiris uses a small, static crosshair with a gap that provides clear visibility of enemy heads at all distances. Here’s his exact configuration:
| Setting | Value |
|---|---|
| Style | 4 (Classic Static) |
| Size | 2 |
| Gap | -2 |
| Thickness | 1 |
| Outline | No |
| Color | Green (1) |
| Dot | No |
Crosshair Code:
CSGO-Oc6VK-dkZ5J-uPtMK-YfTrQ-nPtODTo apply this crosshair, open your console and paste the code after the cl_crosshair_import command, or simply apply it through the game’s crosshair settings menu.
The negative gap pulls the crosshair lines closer together, creating a tighter reticle that’s ideal for headshot-focused gameplay. This works particularly well when holding angles on maps like Mirage or Inferno.
Mutiris Video Settings
Performance trumps visuals at the professional level. Mutiris prioritizes maximum frames with settings that minimize visual clutter.
| Setting | Value |
|---|---|
| Resolution | 1280×960 |
| Aspect Ratio | 4:3 |
| Scaling Mode | Stretched |
| Display Mode | Fullscreen |
| Boost Player Contrast | Enabled |
| V-Sync | Disabled |
| Multisampling Anti-Aliasing | 4x MSAA |
| Global Shadow Quality | Medium |
| Texture Detail | Medium |
| Effect Detail | Low |
| Shader Detail | Low |
The 4:3 stretched resolution makes player models appear wider, which many pros find easier to track and hit. This comes at the cost of reduced peripheral vision, but the trade-off works well for players who rely on crosshair placement and game sense rather than spotting enemies in their peripheral.
For optimal performance, check out our guide on CS2 launch options to squeeze out extra frames.
Mutiris Viewmodel Settings
A clean viewmodel keeps your weapon from obstructing important visual information. Mutiris uses a classic viewmodel position that stays out of the way during firefights.
| Setting | Value |
|---|---|
| Viewmodel FOV | 68 |
| Viewmodel Offset X | 2.5 |
| Viewmodel Offset Y | 0 |
| Viewmodel Offset Z | -1.5 |
| Viewmodel Presetpos | 3 |
| Bob | Minimal |
viewmodel_fov 68viewmodel_offset_x 2.5
viewmodel_offset_y 0
viewmodel_offset_z -1.5
viewmodel_presetpos 3
These settings push the weapon model to the right side of the screen while keeping it relatively compact. This maximizes screen real estate for spotting enemies, especially when peeking tight angles.
Mutiris Keybinds
Efficient keybinds allow for faster utility usage and weapon switching. Here are Mutiris’s key bindings:
| Action | Key |
|---|---|
| Jump | Space / Mouse Wheel Down |
| Crouch | Left Ctrl |
| Walk | Left Shift |
| Use | E |
| Reload | R |
| HE Grenade | 4 |
| Flashbang | F |
| Smoke | X |
| Molotov | C |
| Bomb | 5 |
Having individual keybinds for each grenade type is essential for quick utility deployment. You can learn more about setting up efficient binds in our CS2 binds guide.
Jump throw bind (essential for consistent smokes):
alias "+jumpthrow" "+jump;-attack"alias “-jumpthrow” “-jump”
bind “v” “+jumpthrow”
Mutiris Gear & Peripherals
Professional players invest heavily in reliable peripherals. Here’s what Mutiris uses:
| Peripheral | Product |
|---|---|
| Mouse | Logitech G Pro X Superlight |
| Mousepad | Zowie G-SR |
| Keyboard | Logitech G Pro X |
| Headset | HyperX Cloud II |
| Monitor | BenQ ZOWIE XL2546K (240Hz) |
The G Pro X Superlight weighs just 63 grams, making it one of the lightest wireless gaming mice available. Combined with the control-oriented G-SR mousepad, this setup offers precise tracking for both micro-adjustments and larger swipes.
A 240Hz monitor is standard at the professional level, providing smoother visual feedback that helps with tracking moving targets.

Tips for Using Mutiris Settings
Before copying these settings directly, keep a few things in mind:
- Sensitivity is personal. Mutiris’s 800 eDPI might feel slow or fast depending on your current setup. Adjust gradually.
- Resolution affects visibility. 4:3 stretched takes time to adapt to if you’re coming from 16:9.
- Practice your utility. Great settings mean nothing without solid CS2 practice commands sessions to build muscle memory.
The best approach is to use these settings as a starting point, then make small adjustments based on what feels natural for your playstyle.
Conclusion
The Mutiris CS2 config prioritizes clean visuals, consistent performance, and precise aim mechanics. His moderate sensitivity, static crosshair, and stretched resolution represent a tried-and-true setup used by many European professionals.
Copy these settings, spend time in deathmatch and aim trainers, and you’ll have a solid foundation to build your skills on.